In e-Captain it is possible to create pages via template. You can authorize members to edit certain parts of the web page. This way you can let members with limited knowledge of websites manage the website.
Short explanation in 2 steps
• Step 1: creating a template. Build the web page with the widgets. You can specify which fields / parts can be edited per widget.
• Step 2: create page and link the template to the page within the pages via template section.
If you have created a template, you can then link a page to this template. A template, just like a page, consists of one or more rows and columns. As a result, a page can also have its own template. After creating the first page within the section pages via template, you can publish it and view it online.
• In the main menu, select Website management 2.
• Click on the item Pages via template in the submenu.

| Add | Add template | |
| View | View template | |
| Edit | Change template | |
| Delete | Delete template | |
| Properties | Properties |
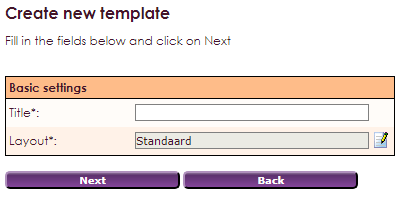
If you create or change a new template in e-Captain, the following screen will open:
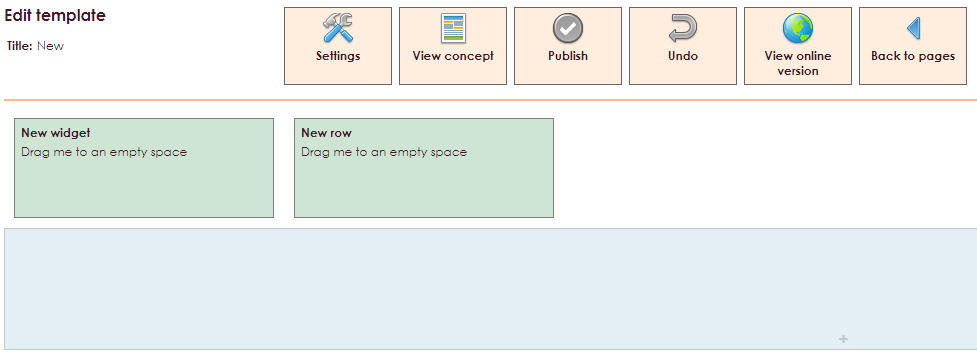
If you release the widget: Text in the right place, the screen below appears.
• The screen looks the same as widget: Text but there are now orange-green and green spheres visible for the fields.
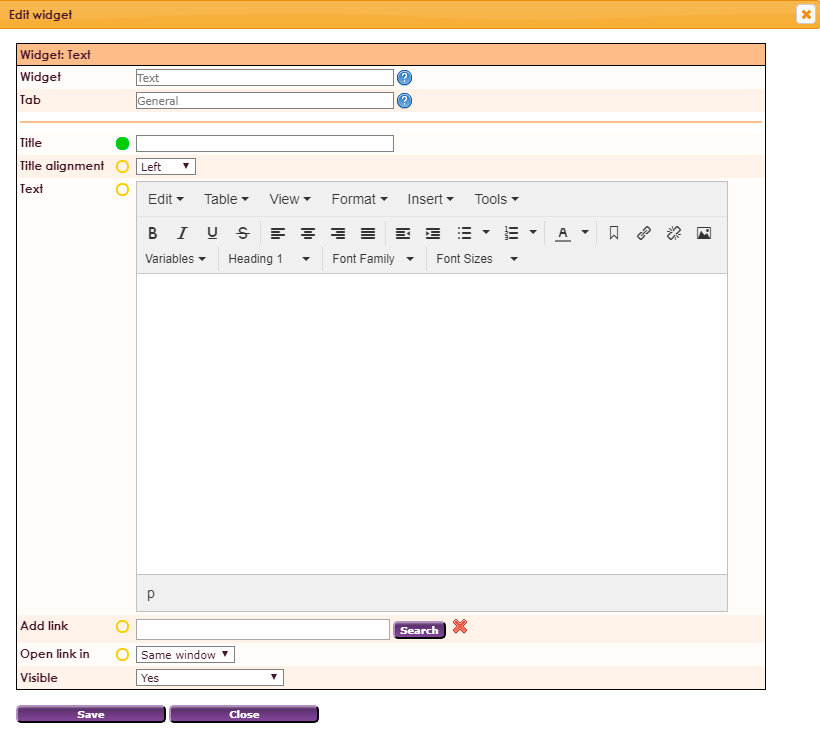
Meaning of the orange and green balls
• If the ball green is green in front of a field, it means that the field may be edited. In the example, the fields Title, Text and Link linking can be edited.
• If, in front of a field, the ball is orange, this means that the field may not be processed. In the example, the fields Title alignment, Text, Link opening can not be edited.
• Widget name: Checked widget settings are grouped under this name
• Tab: If filled in, this widget is shown on a separate tab.
• Title: Enter title
• Title alignment: Left, Middle, Right
• Text: Text field to add text and images
• Link link: Specify the location to which the link should refer
• Open link in: Same window or New window
If you have set everything, click the Save button.

This message will now appear: Please note! There are unpublished changes.
• Click the Publish button
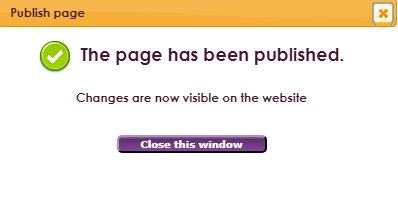
Once you've created the template, it's time to make the webpage.

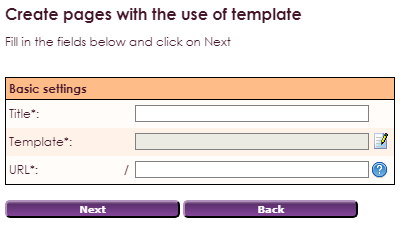
Continue
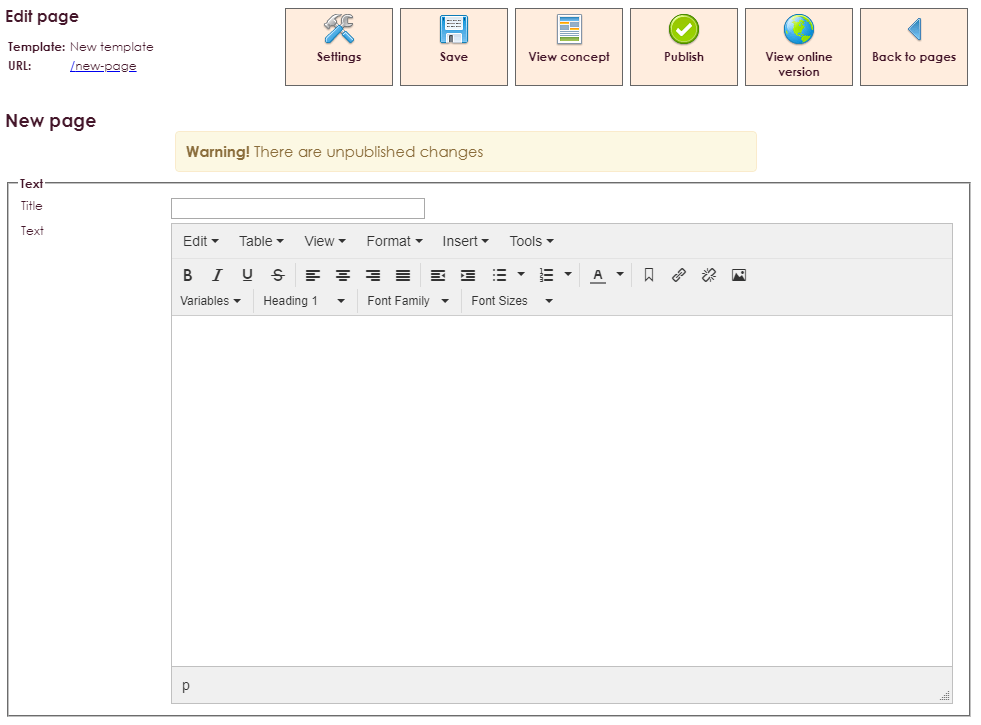
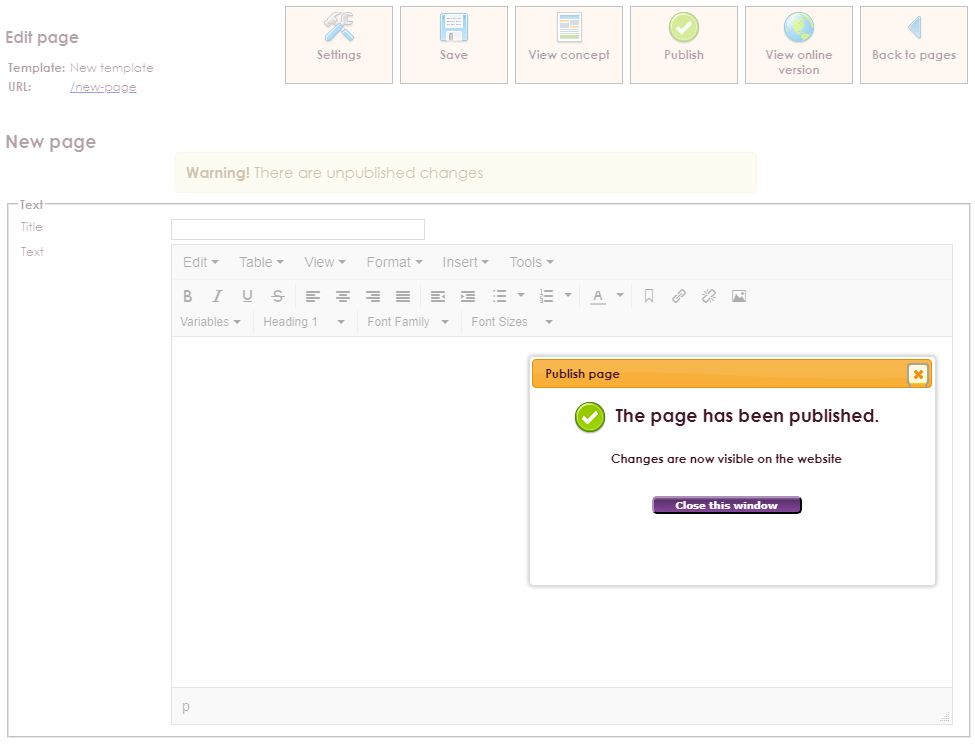
To ensure that your website administrators can only create and edit the pages via templates, the right permissions must also be set for those users.
• Go to Home and select Permissions / Users
• Select the relevant user or create a new user
• In the rights menu, select Website Management Section 2
• Give the user rights to the Pages via Template section and click Save.
• Now give the user rights only on the subcomponent pages (Do not give rights to the templates component!)
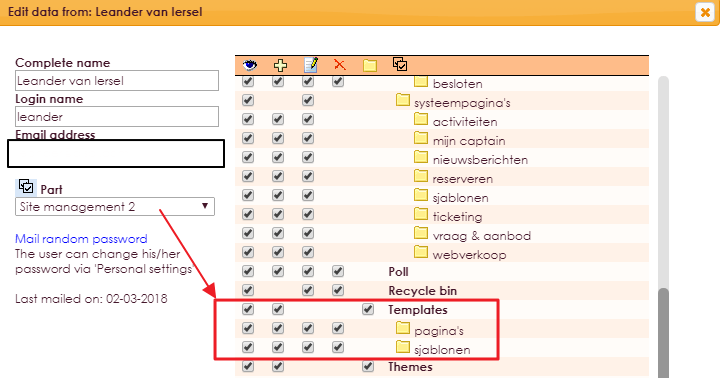
In addition to these rights, a user will also need rights to the Images and Files folders to use images and files on a page. You may want to give a user multiple rights in Website Management2.
If you have multiple users who maintain the website, you can also create group rights. Read more about setting permissions at deze pagina.