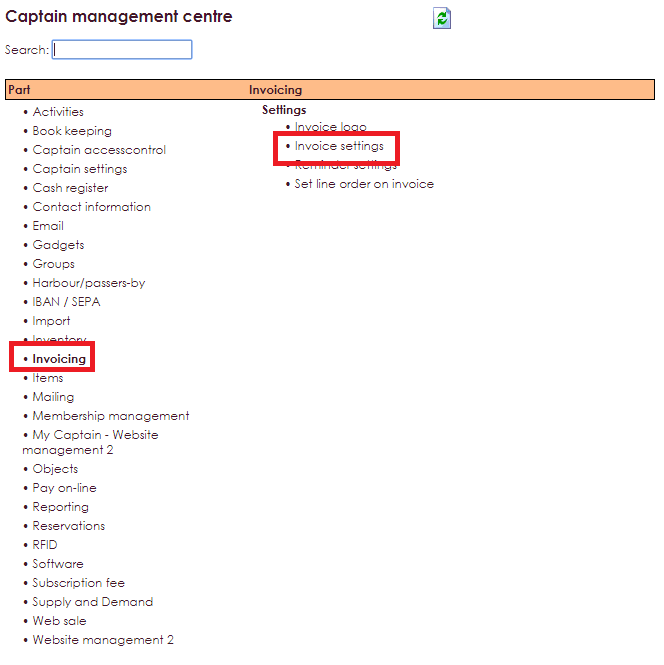
- Go to Management Center in the main menu
- Press Invoicing
- Choose the option Invoice settings
- The following window will be opened:
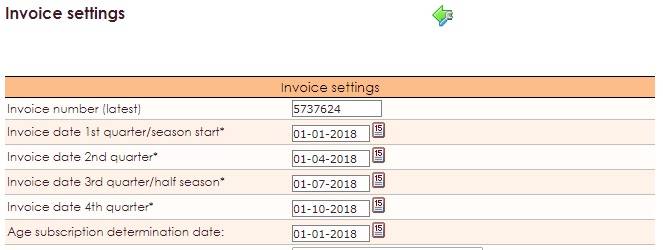
In this window, you should higher the billing dates with 1 year:
- If your association's year starts at January 1st, you fill in Billing date 1st quarter 01-01-[year].
- Billing 2nd quarter always starts at the 1st of the 4th month. This date is used for invoicing products in 4 terms. Even if you don't use quarterly invoicing (in 4 terms), you have to fill in this date.
- Biling 3rd quarter/ half season is always on the 1st of month 7. This date is used to invoice products in 2 terms or 4 terms. You'll have to fill in this date as well.
- Billing 4th quarter/ half season is always on the 1st of month 10. This date is used for invoicing products in 4 terms. You have to fill in this date as well. See step 2 as well to set a new invoice number for the new year.
You can also let the invoice number series start with the new year. (e.g. 20150000). You can do this in the same window as shown at step 1.

- The next invoice number that will be used raises with 1, e.g. 20150001.
- Don't forget to save your settings by scrolling down and press Save.
- Vergeet niet om uw instellingen op te slaan door naar beneden te scrollen en op de knop Opslaan te klikken.
In case you're using the e-Captain accountancy, you can now open the financial year of 2015. It's possible to open a second year if there's only one year open. Therefore you go to:
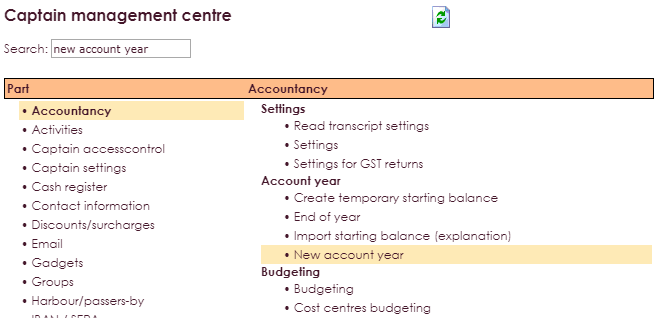
- Choose Management Centre in the main menu.Press accountancy
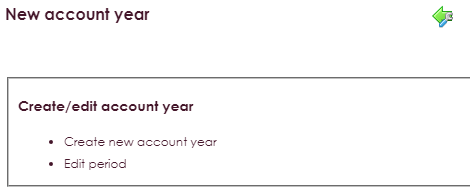
- Choose create new financial year at Financial year.
- Press the link Create new financial year to create the terms for the new year.
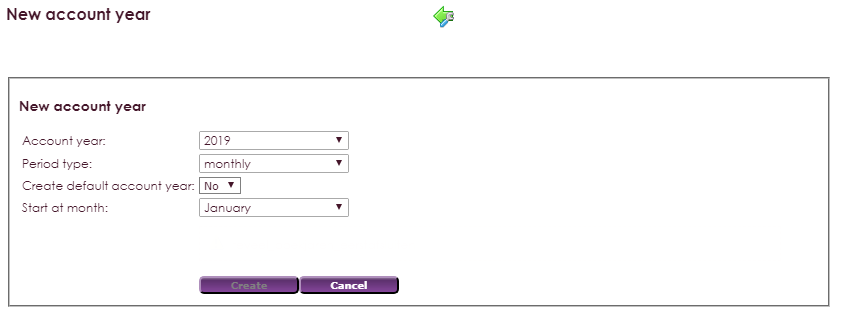
- Fil in the year you want to create
- Press Create
If you have multiple years in your Accountancy, you can use the function Create provisional opening balance to place a provisional opening balance in the new year. This will place a.o. bank balances from the previous year in the new year, without closing the previous financial year. If you open your first financial year, you can enter the opening balance in the Book part, in daybook Memorial in period 0.
- Choose Management Centre in main menu
- Press Book keeping
- Choose Create temporary starting balance
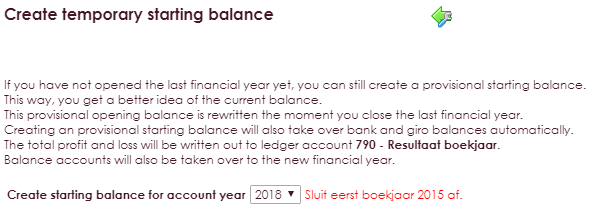
- Choose Create opening balance
- The following notification will appear, press OK
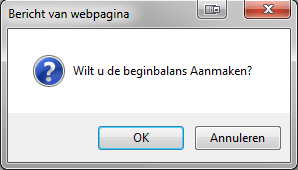
- If the opening balance is made succesfully, the following notification will appear:

Note: You can have max. 2 financial years open to be able to use this function. If you have more financial years open, a notification will appear. You can close a financial year as followed:
- Choose Management Centre in main menu
- Press Accountancy
- Choose item year-end
- After closing all bookings are captured and corrections can only be made in term 13 (correction period). See the following step for information about year-end.
In e-Captain, max. 2 financial years can be opened at the same time. If you haven't closed 2013 yet, you'll have to close this first before you're able to open financial year 2015.
Process outstanding items in accounting
- Make sure the daybooks of the oldest financial year that haven't been processed yet, are processed first.
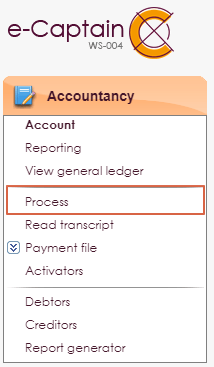
- Choose Accountancy in the main menu
- Choose Process in the sub menu
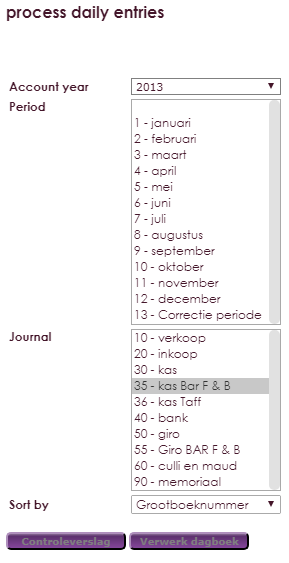
- Choose a journal. You might see a few light orange lines. Those are the journals of periods that still need to be processed. You can do this one by one.
- You could also choose Process All; all periods of all daybooks will be processed at once. After each process a pdf-file with all processed information is made to be printed.

Year-end
- Choose Management Center in the main menu
- Press Accountancy
- Choose the item End of year
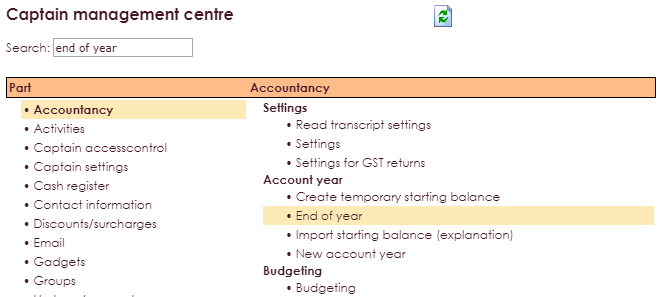
- The end balance of the closed year will become the opening balance of the new year.
- Select the year you want to close.
- Press the button Year-end.
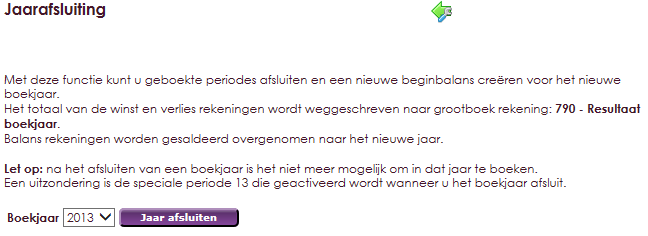
- A notification will appear. You can confirm this notification by pressing OK.
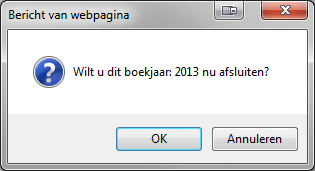
- If the financial year has been closed succesfully, the following notification will appear:

If you use Automatic contribution regulation in e-Captain and you want to implement a price increase, you can do this as followed:
- Choose Management Centre in main menu
- Choose Subscription fee
- Choose Maintain Member Type
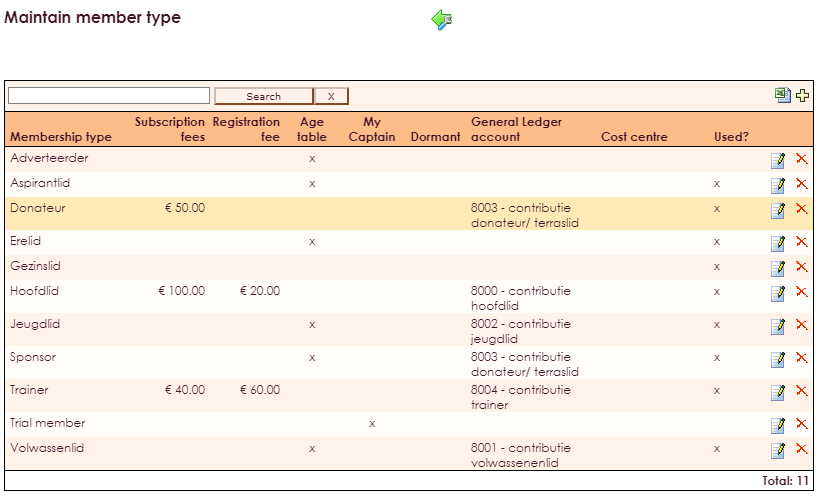
- Press the Change icon behind the right Member Type to adjust the price.
- If you (also) use the age contribution table you can also adjust the contribution amounts at Maintain age/contribution.
- If you also regulate contribution for groups you can change the amounts at Maintain groups.
If you want to know more about creating and adjusting contributions within e-Captain, have a look at contributie jaar berekenen.
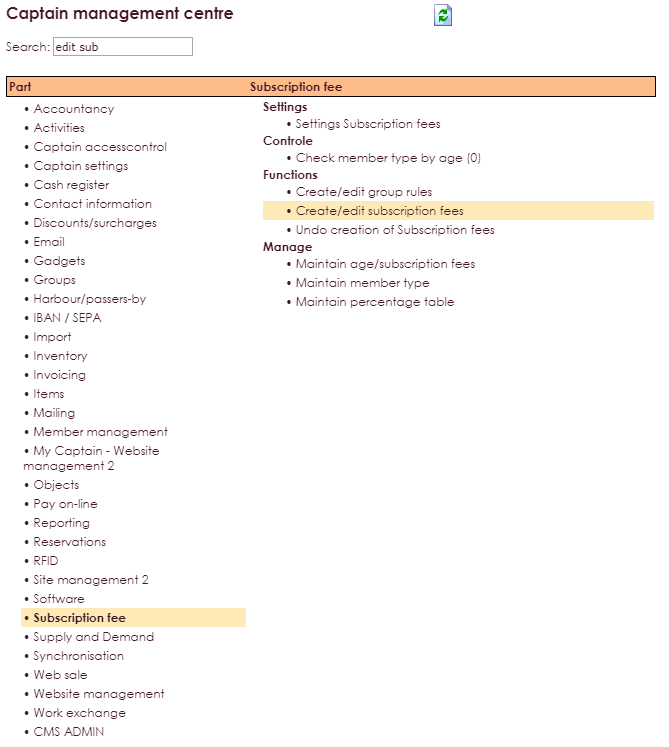
To create the contribution rules for the new year you have to one-off create them by using the function Create/adjust Contributions.
- Choose Management Centre in main menu
- Press Subscription fee
- Choose Create/edit subscription fees
Once you have contribution rules for the new year, the contribution rules automatically appear at new members if you add them later.

This is however depending on your setting Calculating contribution after starting date of season.
- Choose Management Centre in main menu
- Press Subscription fee
- Choose Settings subscriptions fees

- You can check if the contribution rules are created by opening a person's membercard, of someone obligated to pay contributon and then press the tab Items.

At Product Management, you can indicate if products recur every year. With this function you can link all recurring products of the current year that were invoiced to the new year. Products that are already linked for that year are skipped. Adjust any price changes before you do this. You link products as followed:
- Choose Management Centre in main menu
- Press Items
- Choose Link returning items
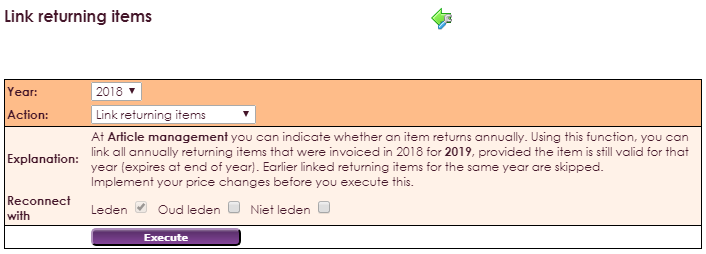
- Choose members, non-members or former members and press execute.
To push trough objects (mostly berths for Watersportsclubs) you handle as followed:
- Choose Management Centre in main menu
- Press Objects
- Choose Terminate season
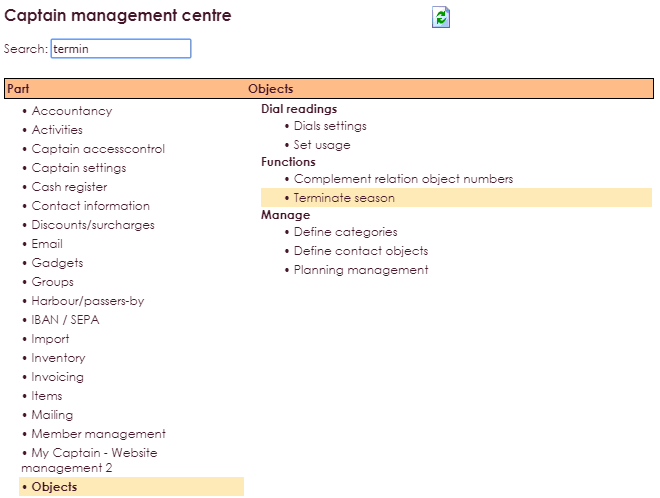
- It would be logical to make sure you invoice everything in the active year that has to be invoiced and before you close the season.
- After that, choose the Categories you want to close one by one.
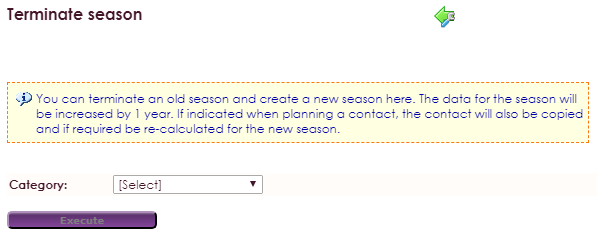
- Choose the season you want to close. This is depending on your method; if you work with an entire season (jan till december) or with a summer and winterseason.
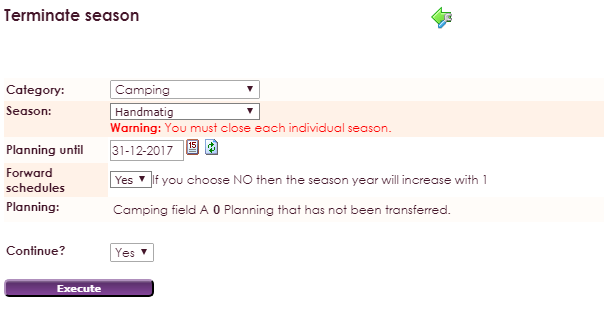
With closing a season, the season is heightened with 1 year automatically. All plannings of the chosen category, which are on recurring, will also be planned in in the new year. The accessory productrules will also be created.
- Repeat the step Close season for all your categories.
- Check for manual plannings. If you have manual plannings planned, you can also push them through. hebt ingepland dan kunt u deze ook doorschuiven.
- A manual planning deviates from the season, but can still be recurrent as season.

- Choose the right category.
- Choose Season manually.
- Kies Seizoen handmatig.
- Insert the date untill where you want it to be checked, e.g. 31st of december [year].

- If you have adjusted the date, you press the refresh icon. The most actual query for th selected date will be shown on screen.
- Select YES in the field Continue YES/NO.

The Execute button will now be active.
Press Execute if e-Captain has shown the right information.

- e-Captain asks if you're sure to close.
- If yes, press OK. The part you selected will close now.
- If e-Captain finished pushing through, you will see an extra line at the top of your window.
You will have to repeat this step for all the categories you want to close.
If your rate for the new year has changed, you can adjust the prices in the Management Centre.
- Choose Define Categories at objects.
- You select the categories one by one to adjust these to the new rate. Depending on the information per category you will have to adjust season, summerseason and winterseason. Because you have already closed the season you can already see the new season dates.
- Only change the price of the season of interest.
- Press Advanced View to see if more prices are defined.
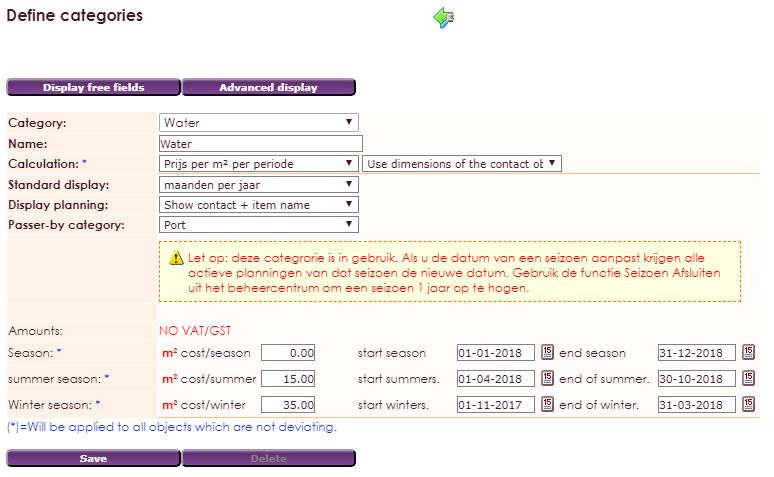
- Don't forget to save your changes. Any price changes are immediately implemented at all uninvoiced plannings.
Fixed rates. In case you're using fixed rates you can also adjust prices.
- Go to Management Centre in the main menu
- Choose Rental Objects in front of Planning Management
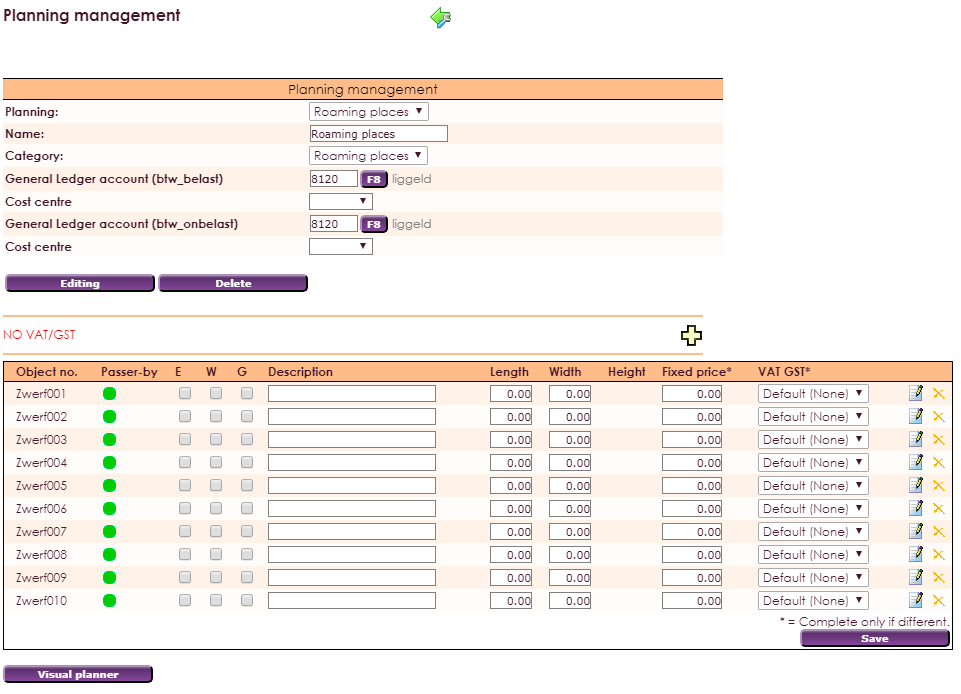
- Fill in the new prices if applicable.
