If you have created a layout, you can then create a page. Each page has a link that can be viewed by the website visitor. A page can be linked to a layout in e-Captain. A page, just like the layout, consists of one or more rows and columns. As a result, a page can also have its own layout. After making the first page you can publish it and view it online.
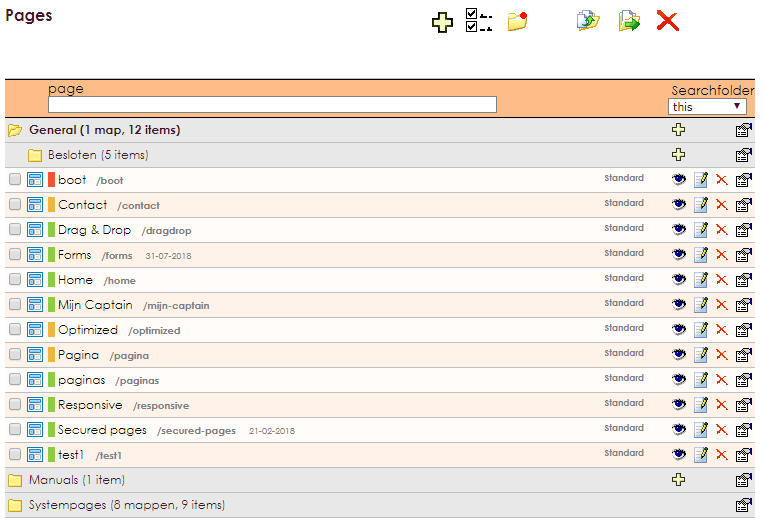
| Add | Add page | |
| View | View page | |
| Edit | Edit page | |
| Delete | Delete page | |
| Properties | Page properties |
When creating a new layout, e-Captain adds a row. It is the row System: page content. The layout you create can be linked to a page. In this row comes the page content.

We use a live website demo for the example so that you can see what happens in the page, the layout and the text.
live website demo
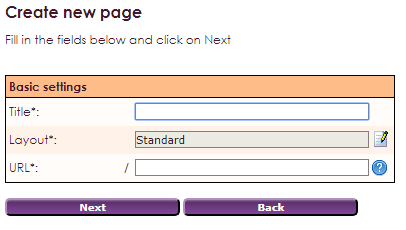

The upper bar shows a summay of your page with the name, URL, and a few shortcuts.

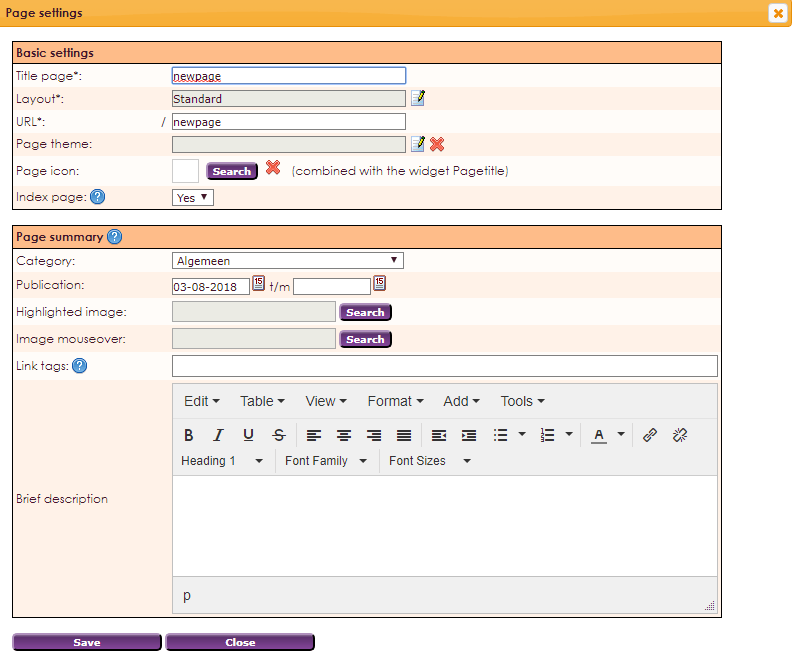
| Title page | Give up the title of your page |
| Layout | Here you see which layout is chosen voor the used page. You can change it here |
| URL | e-Captain genereert op basis van de pagina titel automatisch een URL. Deze kunt u desgewenst ook aanpassen |
| Page theme | Hier kunt u het standaard thema voor de pagina selecteren. Als u deze optie leeg laat wordt het thema uit de gekozen lay-out gebruikt. |
| Page icon | Optioneel kunt u een icoon koppelen aan de pagina. Deze wordt dan naast de paginatitel getoond. |
| Index page | Met deze optie kunt u de pagina uitsluiten van indexering door zoekmachines. Standaard staat deze optie op JA en wordt de pagina automatisch meegenomende door indexering van zoekmachines. |
| Category | Selecteer hier de categorie. Pagina categoriën kunt u aanmaken en beheren in het Beheercentrum. Deze wordt getoond in de widget Widget: Laatste x paginas. |
| Publication | Hier stelt u de prublicatie start en eventueel stop datum in |
| Highlighted image | Hier kunt u een afbeelding koppelen aan de pagina. Deze wordt getoond in de widget Widget: Laatste x paginas. |
| Image mouseover | Hier kunt u een mouseover afbeelding koppelen. Deze wordt getoond in de widget Widget: Laatste x paginas zodra gebruikers met hun muis over de eerder getoonde afbeelding gaan. |
| Link tags | Hier kunt u tags koppelen aan een pagina. De gebruikte tags zorgen voor een betere vindbaarheid in de website als gebruikers de zoekfunctie gebruiken. Type een tag in en sluit af met enter. De ingevoerde tags vind u terug in het Beheercentrum waar u de tags verder kunt beheren en eventueel verwijderen. |
| Brief description | Hier kunt u een korte samenvatting kwijt. Deze wordt getoond in de widget Widget: Laatste x paginas. |
All changes in the page editor are done in draft mode. This means that an adjustment can not be seen live on the website.
Just below the navigation bar, there is a line with two green blocks, New widget and New row.

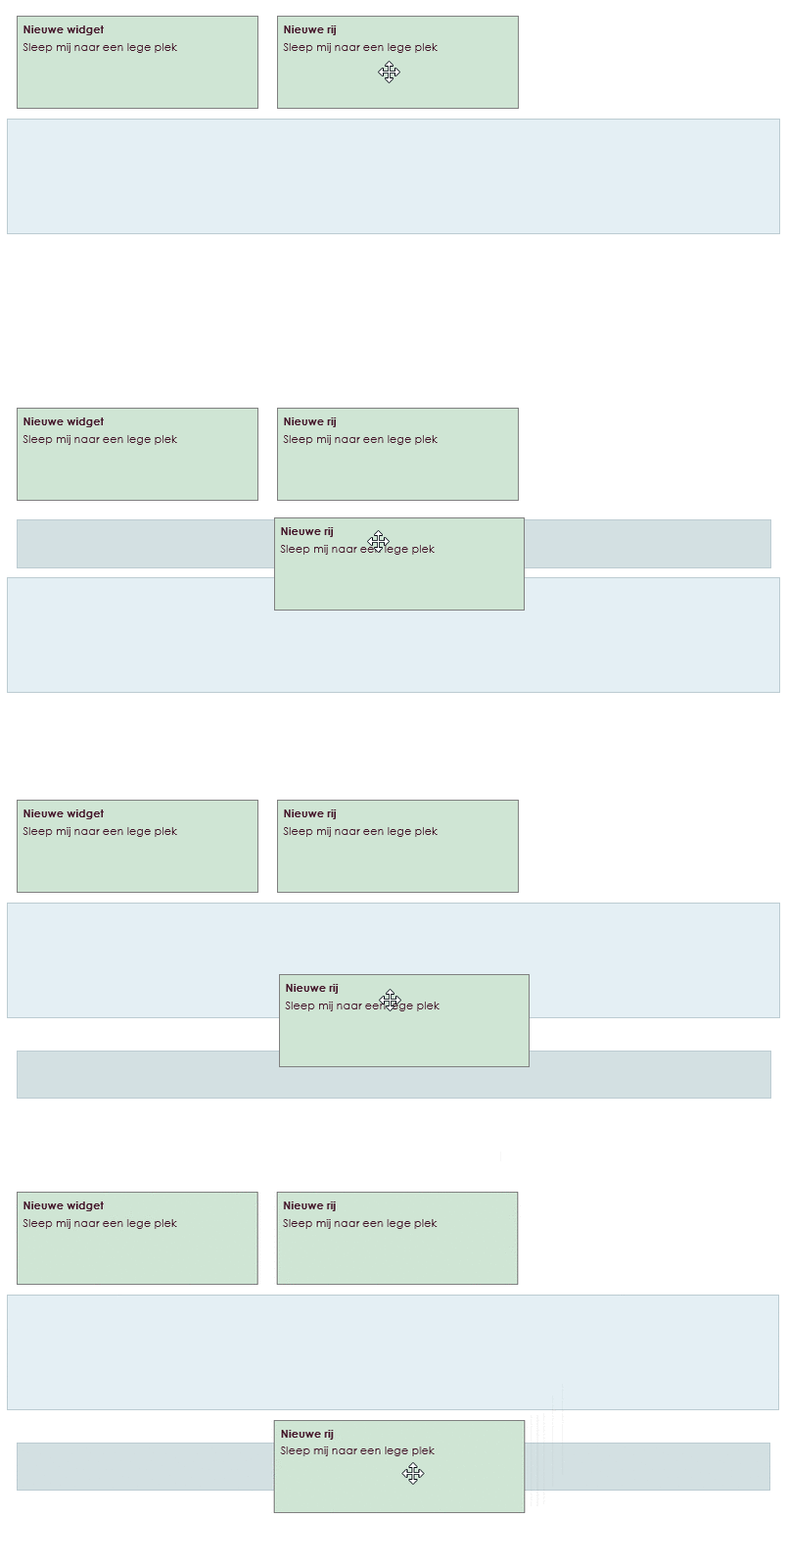
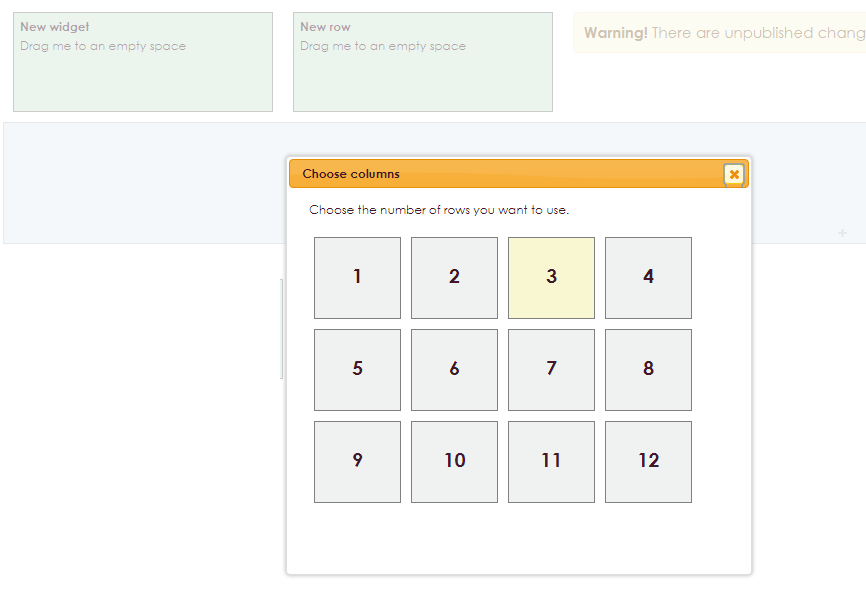
In this example, the row is divided into three columns.

The page screen shows a number of rows. These rows can be divided in 12 columns maximum. This does not have to bee the same as the rows above.

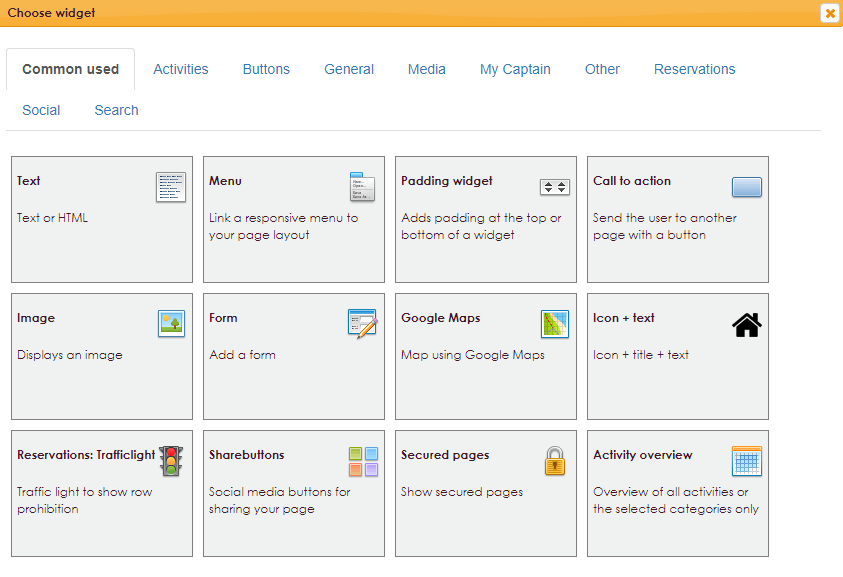
After creating a new page, adding the rows and linking a theme, we will dress up the page. This is done in e-Captain using widgets. e-Captain contains many different widgets. You can drag a widget to a column to place it there. For example, if you want to write a piece of text, drag a text widget to the appropriate column and a text editor will appear where you can write the text. If you want to put an image in a column, drag an image widget to the right place.
Just below the navigation bar, there is a line with two green blocks, New widget and New row.




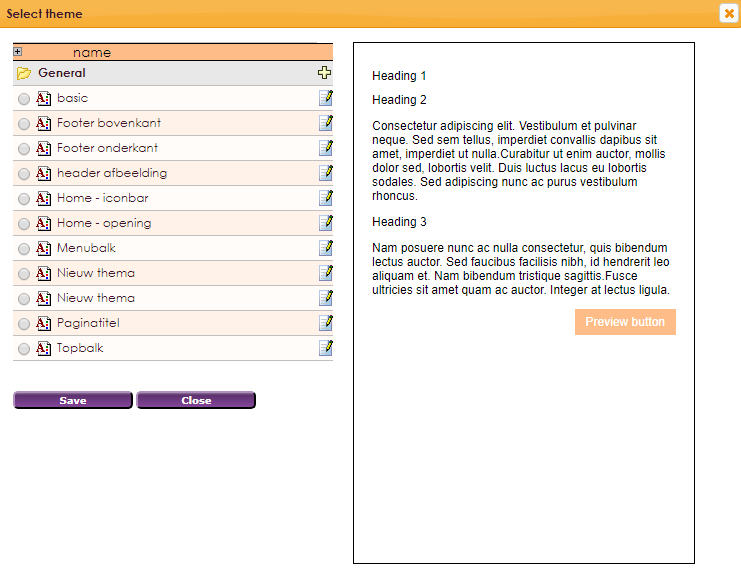
To give a column/row a diffrent theme, click the ![]() icon on the lower right side of the concerning row.
icon on the lower right side of the concerning row.

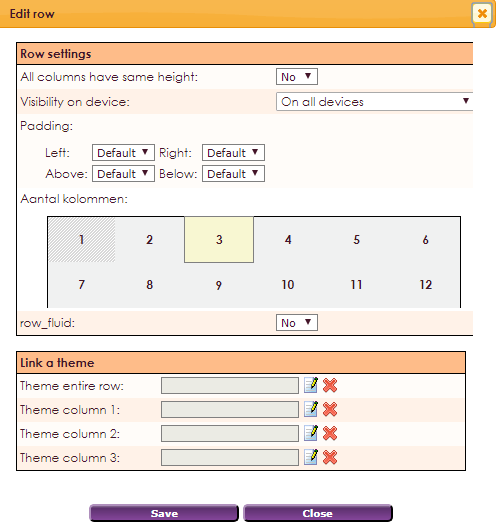
This makes it possible to use different themes within the created page or layout.
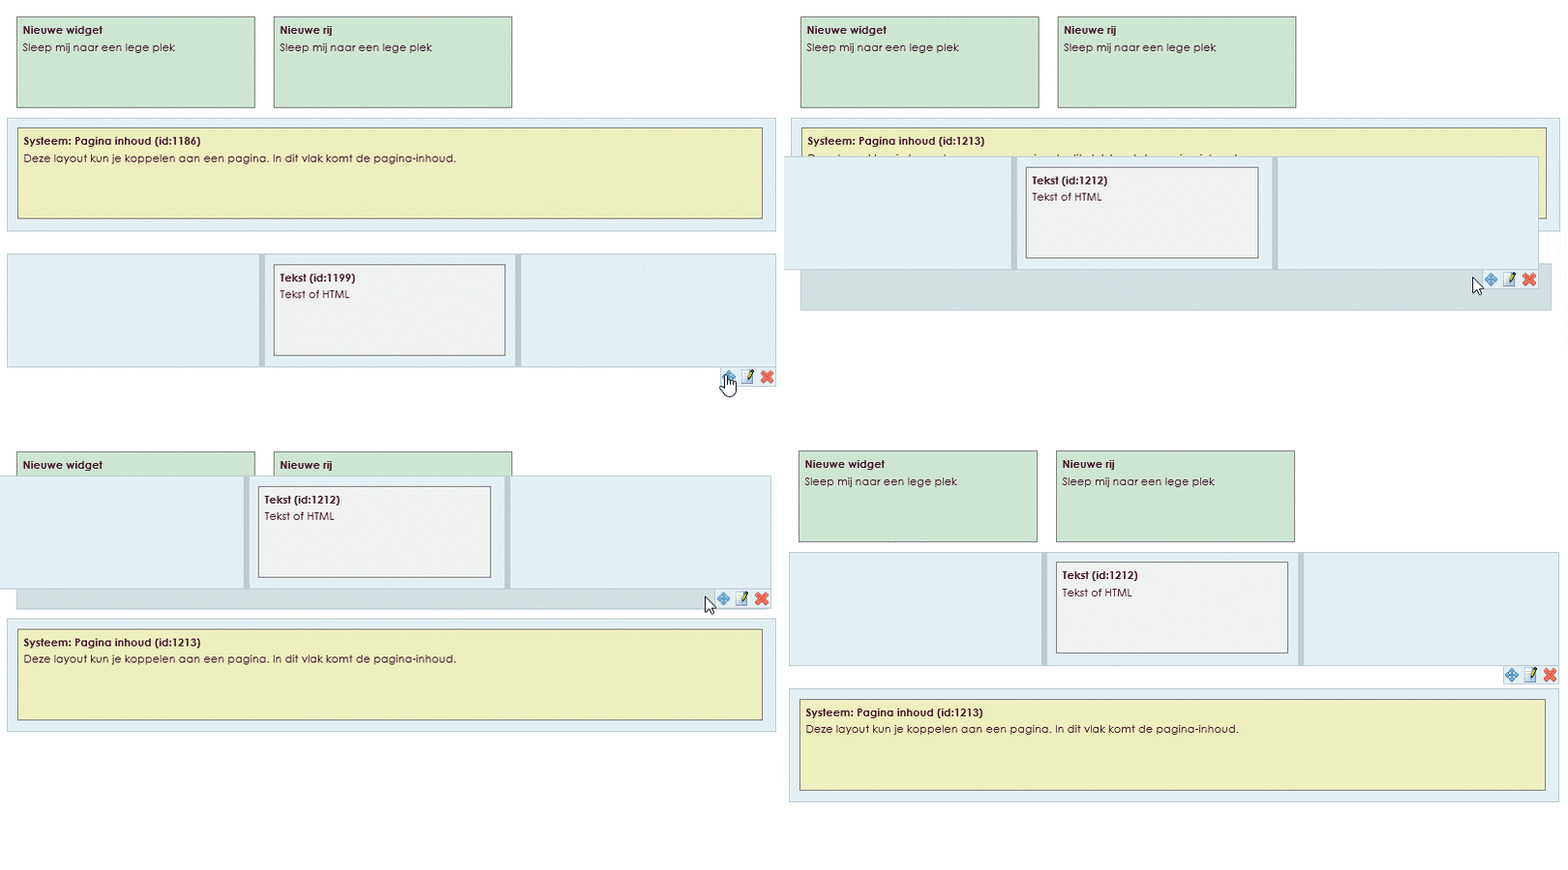
It is possible to move the individual rows within the layout.
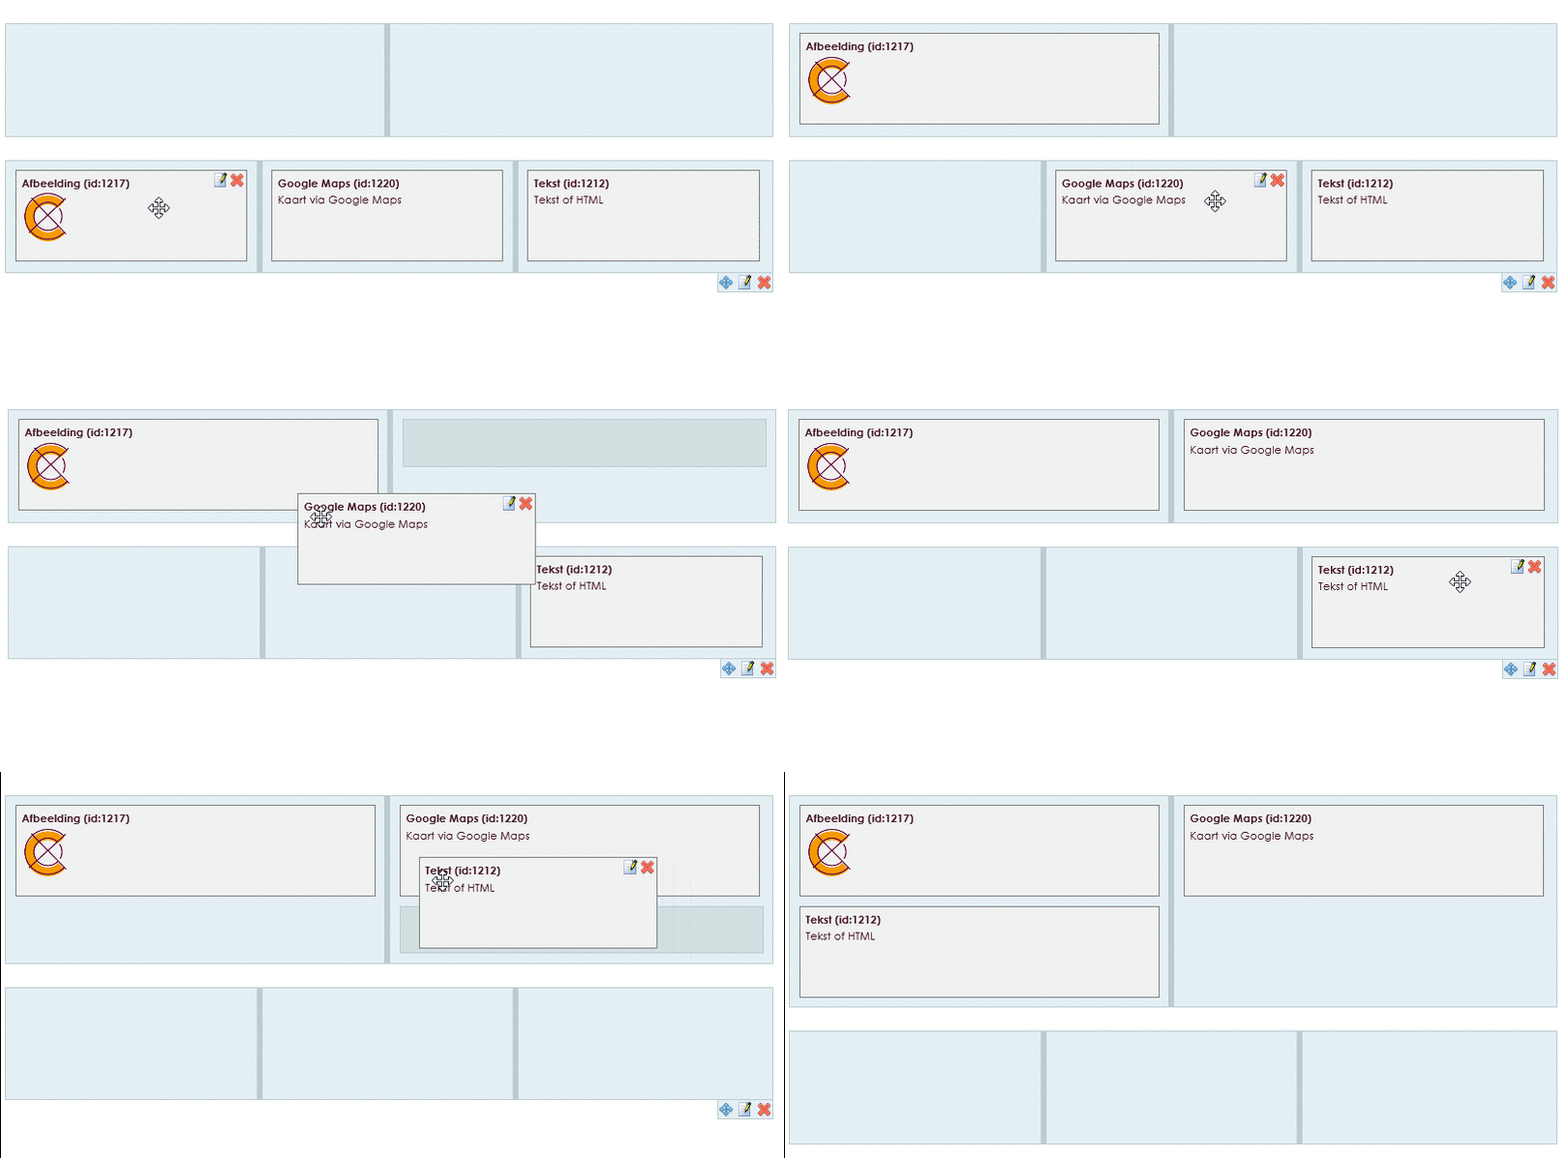
You can also move widgets within the page. Widgets can be moved within the row, but also to another row. Multiple widgets can be placed in the same column.
In the page overview there is a colored icon for the name of the page. This icon indicates whether or not the page is live and published.

| Green | Page is live, there are no changes made in this page. | |
| Orange | Page is live, there are unpublished changes. | |
| Red | Page is not live. The page must be published first |
By clicking the ![]() icon, you can change the characteristics of the pages.
icon, you can change the characteristics of the pages.

| Name: | Name of the page |
| Saved in folder: | Select location of the page (folder structure) |
| Move? - Select a folder: | Move page to a new folder |
| Secure page: | Make page secure |
After creating the link in the menu, the page has yet to be made and the groups that have rights are added to the page.
• Go to Website Management 2 in the main menu.
• Go to the Pages item.
