The image editor makes it possible to alter images that are uploaded within Site management 2 in the following ways:
| Resize |
|
| Crop |
|
| Rotate |
|
| Flip |
|
| Filters |
Applying a combination of the following filters to the image:
|
This is how you can navigate to the image editor:
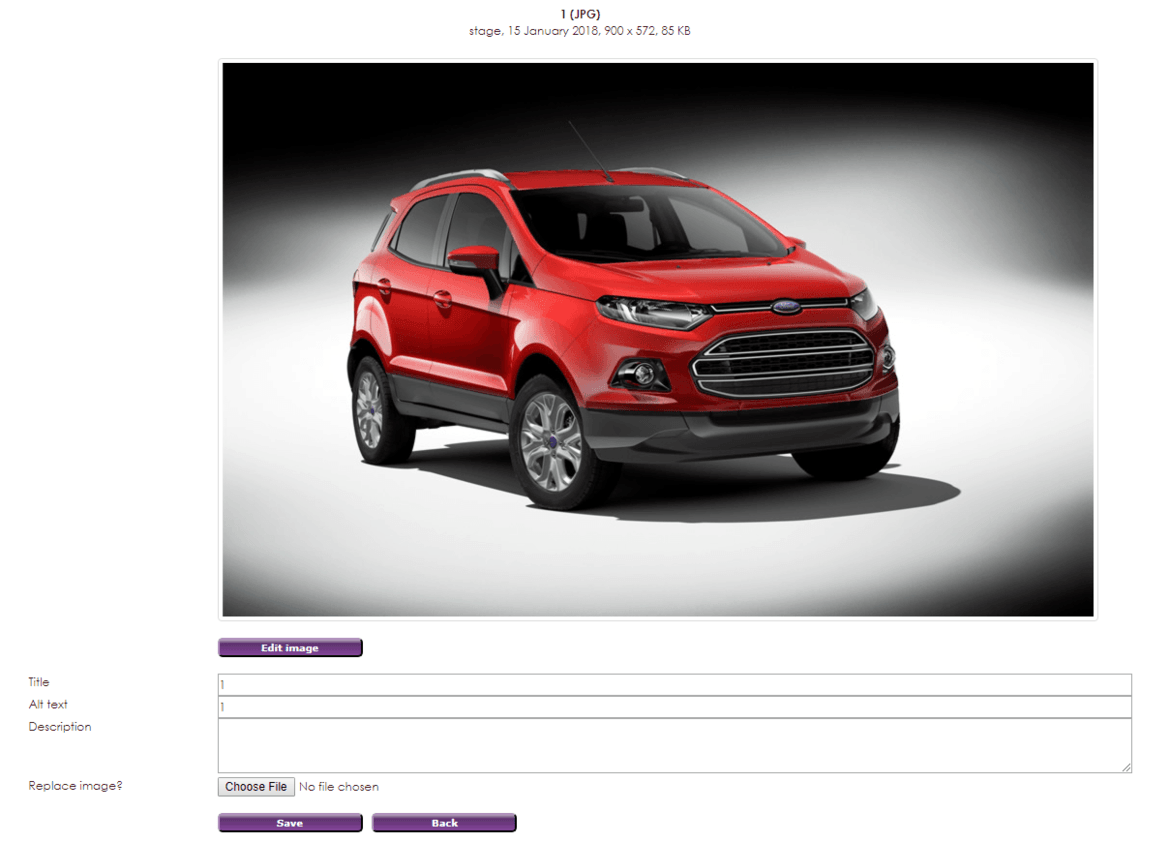
After you clicked on the Resize button there will be a table that appears with which you can change the width and height of the image in different ways.
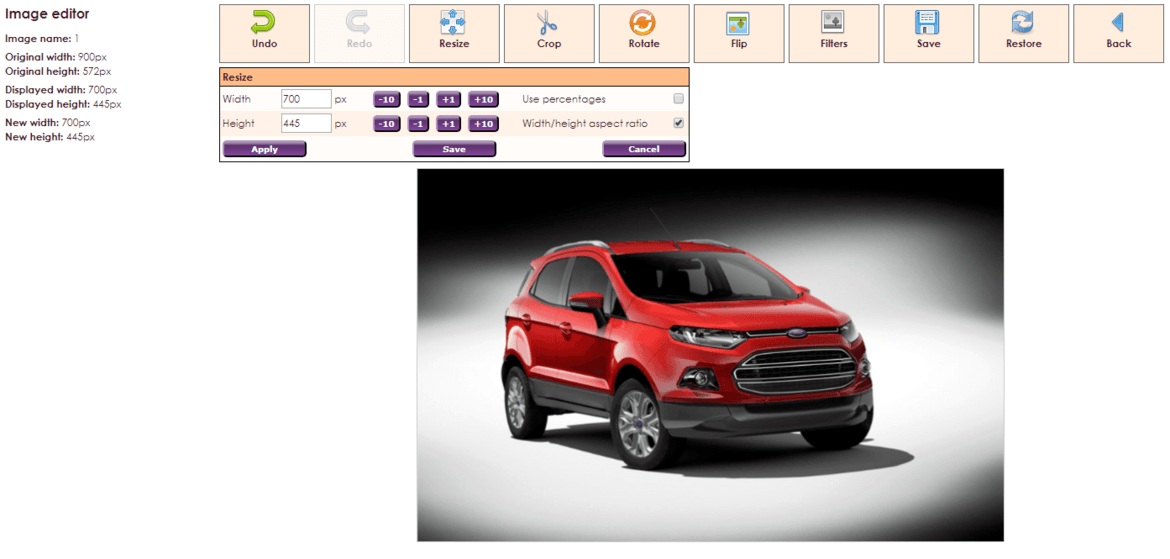
The width and height of the image is put in a textbox. This width and height can be changed by changing the number in these textboxes and clicking on the Apply button. The width and height of the image can also be changed by clicking the  buttons. If the width of the image is changed then the height of the image will automatically change with it to keep the aspect ratio intact (and the other way around). The default unit for the width and height of the image is pixels.
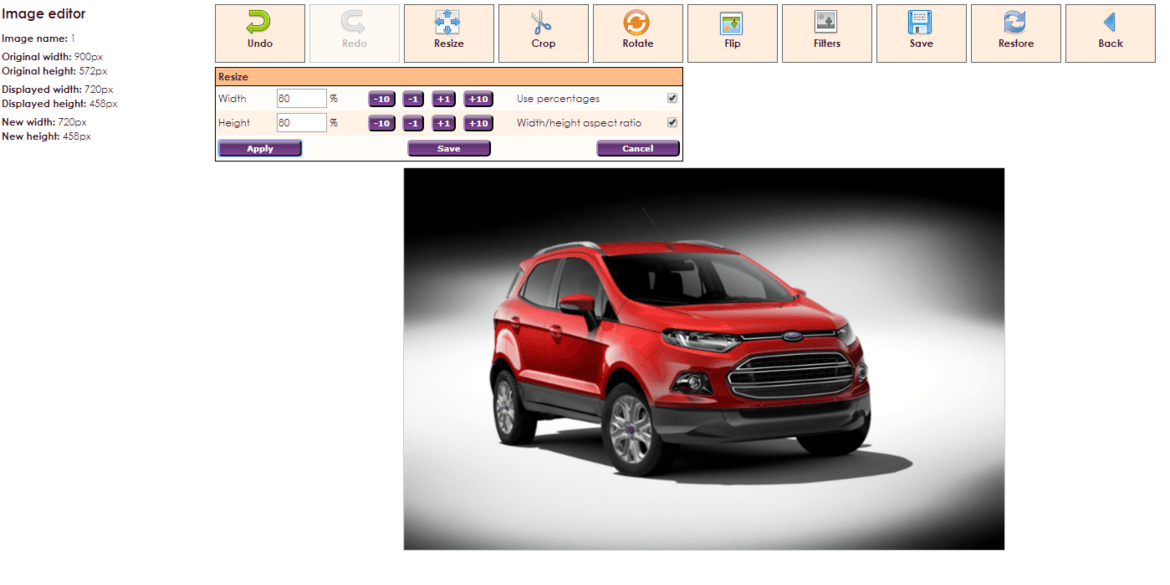
The width and height of the image is by default being displayed in pixels in the textboxes. That is the reason that the checkbox  is unchecked by default. Once this checkbox is checked the pixels will be replaced by percentages. this means that the image will be set back to the current 100% width and height of the image. Having this checkbox checked makes it possible to change the width and height of the image in percentages instead of pixels. It is possible to use this option in combination with the option Width/height aspect ratio.
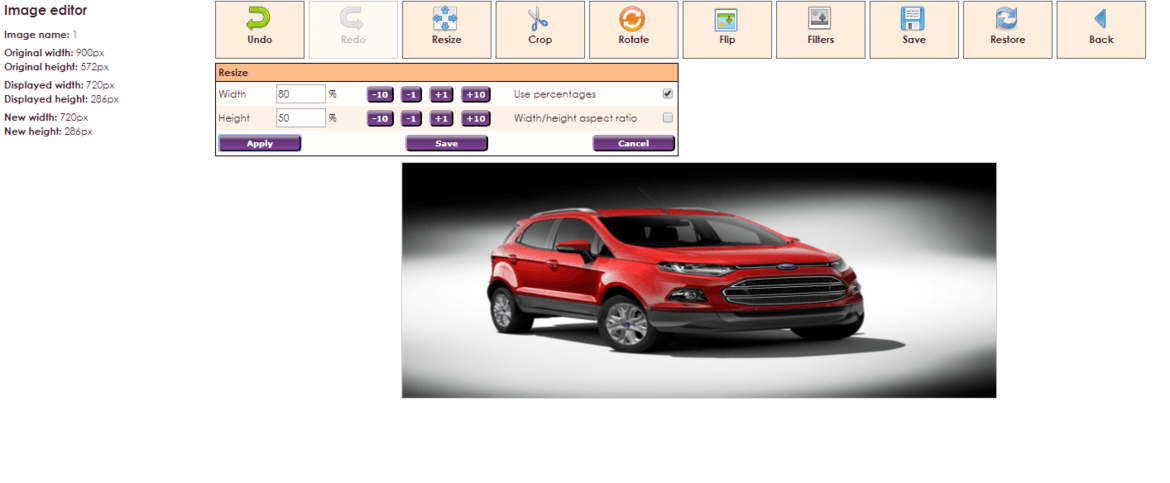
The aspect ratio between width and height is being remained by default. This means that if you change the width of the image that the height will automatically change with it (and the other way around as well) to make sure there is no loss in quality of the image. That is the reason why the checkbox  is checked by default. If this checkbox is unchecked it will allow you to change the width and height individually without the other one changing with it. It is possible to use this option in combination with the option Use percentages.
 |
This button applies the values of the Width and Height checkboxes to the image. |
 |
This button saves the current width and height applied to the image and creates a new image with these values. |
 |
This button resets the image back to the current 100% of the image. |
After you clicked on the Crop button a frame will appear over the image that is half the width and half the height of the image. After clicking on this button there will also be a table that appears with which you can change the width and height of this frame.
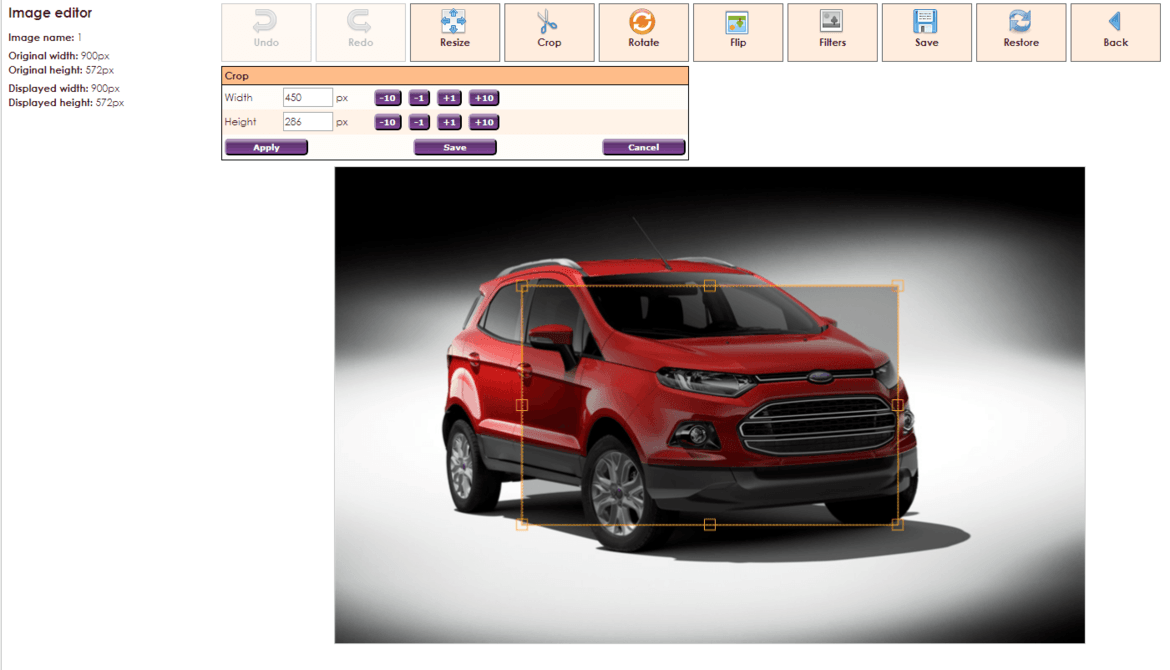
The width of the frame is displayed in the textbox. This width can be changed by changing the value of this textbox and clicking the button Apply. The width can also be changed by clicking the  buttons. There is also a third way to change the width of this frame and you can do it like this:
The height of the frame is displayed in the textbox. This height can be changed by changing the value of this textbox and clicking the button Apply. The height can also be changed by clicking the  buttons. There is also a third way to change the height of this frame and you can do it like this:
 |
This button applies the values of the Width and Height textbox to the frame. |
 |
This button creates a new image of the area that has been selected by the frame. |
 |
This button removes the frame from the image. |
After you click the Rotate button a table will appear with which you can rotate the image in different ways.
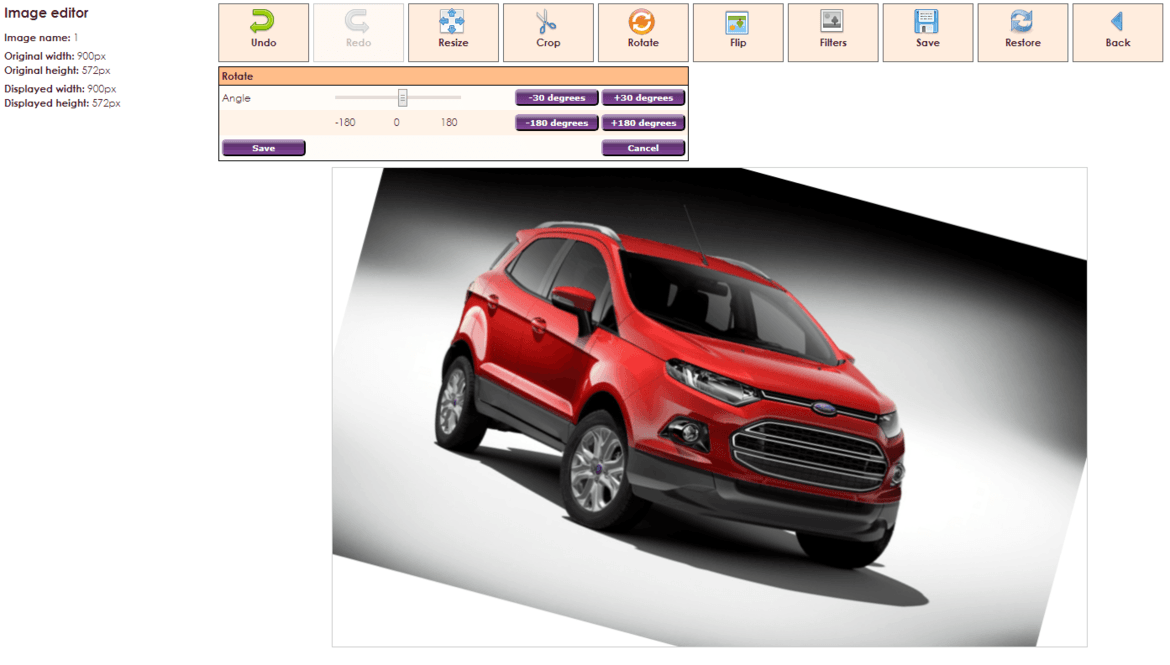
The rotation slider  has the default value of 0 and allows you to rotate the image up to 180 degrees to the left and right.
 |
This button rotates the image 30 degrees to the left every time you click it. The rotation depends on the current angle of the image. It's not possible to rotate the image more than 180 degrees to the left with this button. |
 |
This button rotates the image 30 degrees to the right every time you click it. The rotation depends on the current angle of the image. It's not possible to rotate the image more than 180 degrees to the right with this button. |
 |
This button rotates the image 180 to the left, this does not depend on the current angle of the image. |
 |
This button rotates the image 180 to the right, this does not depend on the current angle of the image. |
 |
This button creates a new image with the current rotation. Everything of the image that is not visible will be cut off. |
 |
This button rotates the image back to the current 0 value, the 0 value changes after saving the image. |
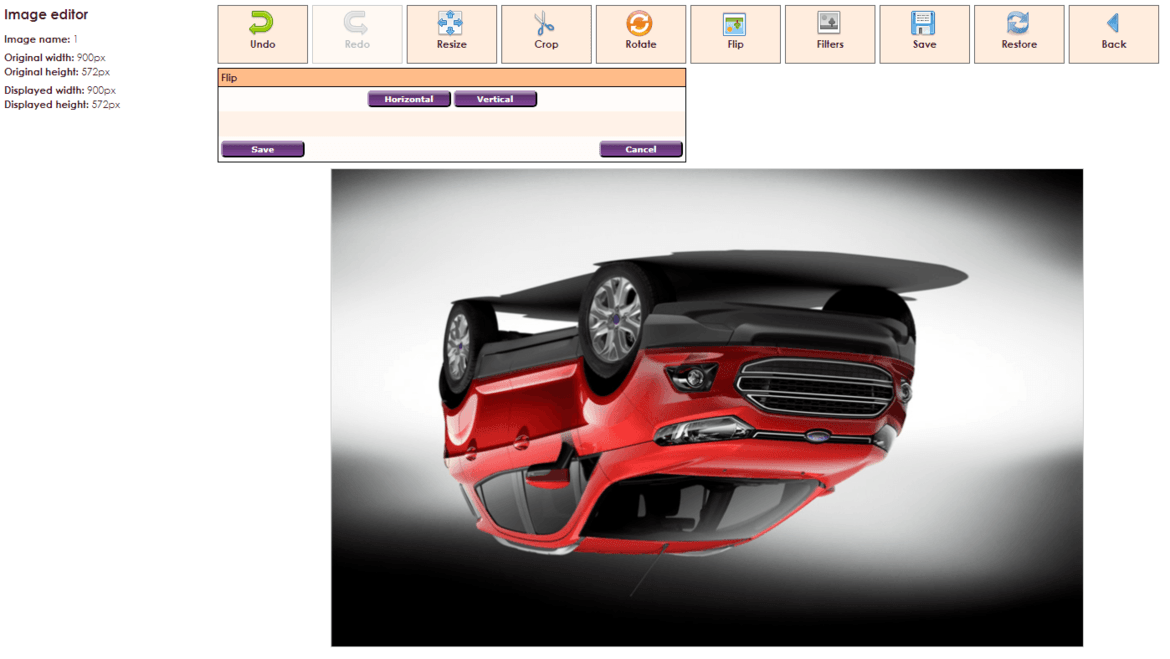
After you have clicked the Flip button a table will appear with which you can flip the image horizontally and vertically.
 |
This button flips the image horizontally. |
 |
This button flips the image vertically. |
 |
This button creates a new version of the image with the current flip value. After saving the current value will be the new default flip value. |
 |
This button resets the image back to the current default flip value. |
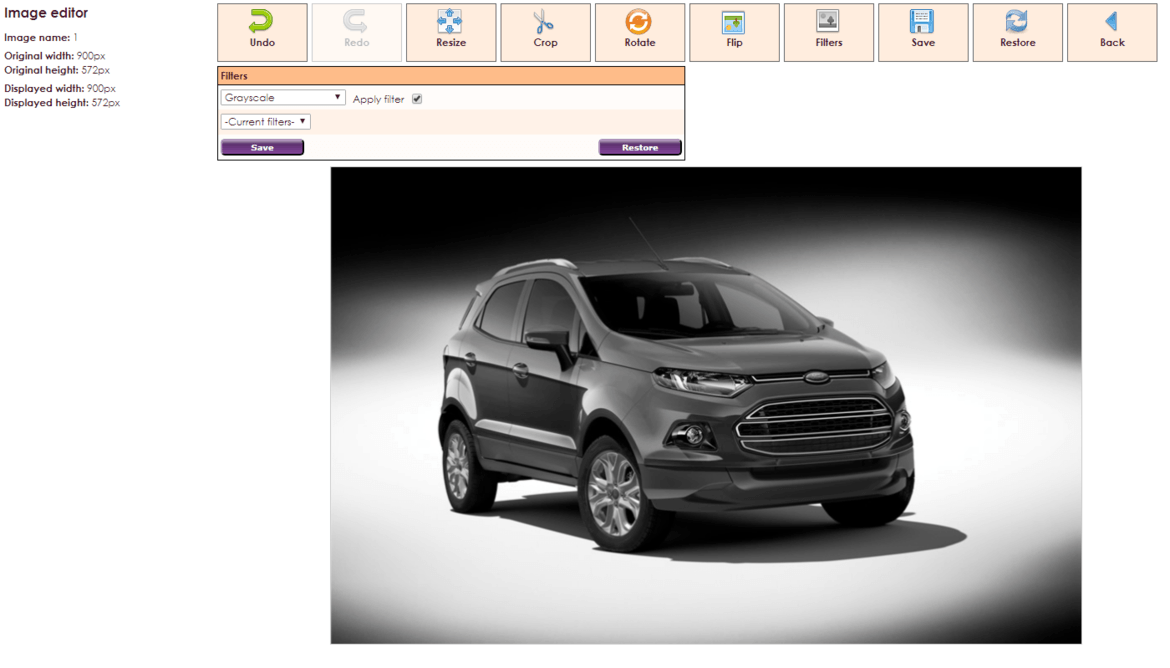
It is also possible to apply color filters to an image with the imag editor. It is also possible to apply multiple color filters at once to create different effects.
 |
By default this dropdown list has the option "-Choose a filter-" selected which is why there are no filter options being shown. If you navigate to this option again all the currently visible filter options will be hidden again. |
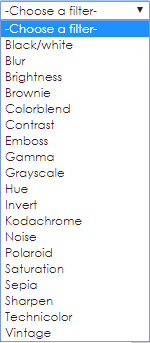 |
After clicking on the dropdown list the filter names will appear. After clicking on one of the filter names the filter options for that filter will become visible. |
 |
This checkbox is available for each filter. By default this checkbox is unchecked. Checking this checkbox will apply the filter with the currently selected filter options. unchecking this checkbox again will remove the selected filter from the image. |
 |
This slider is not available for each filter but only for those with a changeable filter value. The slider can have different default values, and sized depending on which filter is being used. Dragging this slider will increase or decrease the filter value. |
|
|
This is a button to navigate to the color picker and is only available for the filter Colorblend. The color that has been selected with the color picker is being shown in the button. Next to the button there is a textbox which also displays the current color. It is also possible to change the color by changing the value in this textbox. |
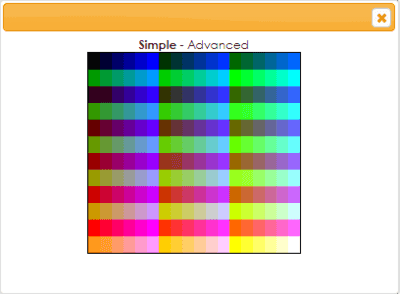 |
This is the simple view of the color picker. Here you can pick one of the pre-set colors. After clicking on a color this color will instantly be applied to the filter. It is also possible to switch to the advanced view by clicking on "Advanced". |
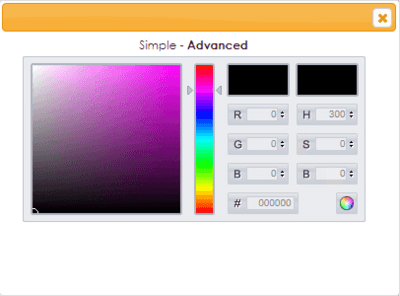 |
This is the advanced view of the color picker where you can compose your own color. You can apply this color to the filter by clicking on the |
 |
This dropdown list displays the filters that are currently applied to the image. If you click on the name of one of the filters it will open the filter options for that filter. |
 |
This button saves the current filters. |
 |
This button removes all the currently applied filters from the image and resets all the draggable bars to their default values. |
If you have altered an image and you realize that you are not satisfied with the outcome you can use the Undo/ Redo buttons.

You can see that the the buttons have a different color than the other buttons and that the icon is grayed out. This is because the buttons are currently disabled because there is nothing to undo or redo. The Undo button becomes available after altering the image. The Redo button becomes available after you have used the Undo button.

After the image has been altered you also want to be able to save it.
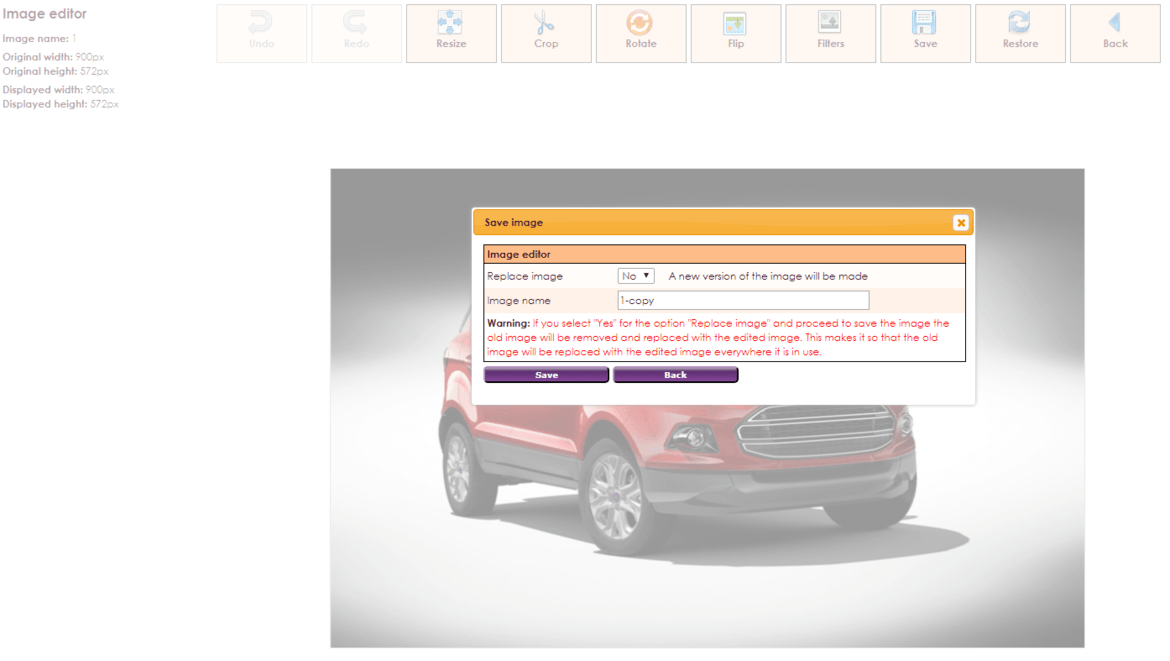
 |
This is the default value of the option Replace image. If "No" is selected then "-copy" will be placed behind the original image name in the textbox Image name. If "No" is selected once you click the Save button the old version of the image will remain and a new version of the image will be created with the name that of the textbox Image name. |
 |
This is what the textbox Image name looks like when you select "No" for the option Replace image. if "No" is selected you are able to change the name of the image |
 |
If "Yes" is selected the textbox Image name will be greyed out. If "Yes" is selected once you click the Save button the old image will be replaced with the new version of the image that has been created within the image editor with the name of the original image. |
 |
This is what the textbox Image name looks like once you select "Yes". The name of the image cannot be edited. |
 |
This button saves the image with the selected save options. After clicking this button it can take several seconds until you will be navigated back to the image overview depending on how large the image is. |
 |
This button closes the save window and resets the save options to their default values. |
 |
This button closes the save window and resets the save options to their default values. |
If you want to start all over with altering the image you don't have to navigate all the way back to the image editor. You can click the Restore button to restore the image to its original state.

After clicking the Restore button you will see the following message:

If you click on the OK button the page will be reloaded resetting the whole image and all settings in the image editor. IT IS NOT POSSIBLE TO UNDO THIS.
If you click the Cancel button the message will disappear and nothing happens to the image.
If you want to navigate back to the previous page you can use the Back button. This button will navigate you back to the edit image page.

After you clicked on the Back button you will see the following message:

If you click on the OK button you will be navigated back to the image edit page. If you navigate back to this page all changes you have done to the image will be lost.
If you click the Cancel button the message will disappear and nothing will change to the image.
