My Captain - Secured items


It is possible via My Captain to make specific pages and files available to a certain group of members. By issuing rights to certain groups it is possible to indicate who can view which information and who does not.
 

my-secured-items-01
 

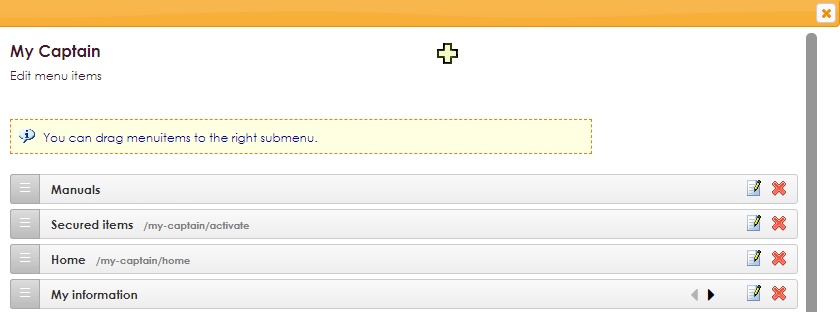
To use this functionality a link must be placed on the webpage of the organization and the member must have login details for the My Captain section of the website. In the standard My Captain menu, Private items are already included. If you use the default My Captain menu on your website, you do not have to add this link anymore.

Systempage My Captain secured items

The My Captain Private Items page is already provided with the forms widget, you only need to link this page to your own menu.

 

  • Click on Website Management 2 in the main menu.
  • In the submenu, select the Menus item
  • Select the appropriate menu to which the link must be added. (link is already added to standard My Captain menu)
  • Click on the IconM hamburger icon to view the menu items overview


my-secured-items-02


  •  Click on the IconS Plusje icon to add a new item. 


my-secured-items-03


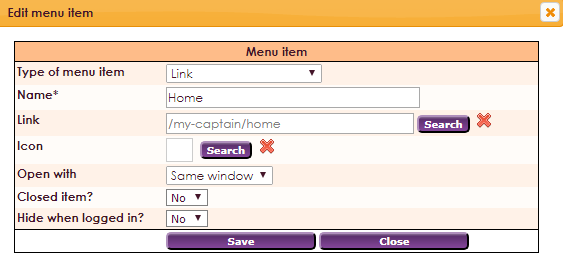
  • Name the menu item
  • Click Search to add a link.


my-secured-items-04


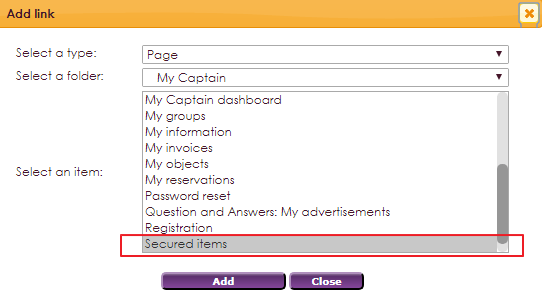
  •  Select as type Page.
    • Select the My Captain folder.
    • Select the Closed items item to link the system page to the menu item.


my-secured-items-05

Link on your own website

If the website is created in another format than e-Captain, a link can be placed on the website.

http://name-site.e-captain.com/my-captain/closed
Name is used for the name of the website.


my-secured-items-05

Secured pages

After the page is created, rights have to be assigned, the page should be closed and assigned who is allowed to see the page.

  • Go to Websitemanagement 2 in the main menu.
  • Go to the item Pages.
     

my-secured-items-07


  • Click behin the item that should be closed ont the IconS Eigenschappen icon.
  • Select the box behind the yellow lock in the characteristics screen.


my-secured-items-08


After selecting the closed page box, click on the link: Click here to manage the access.


my-secured-items-09


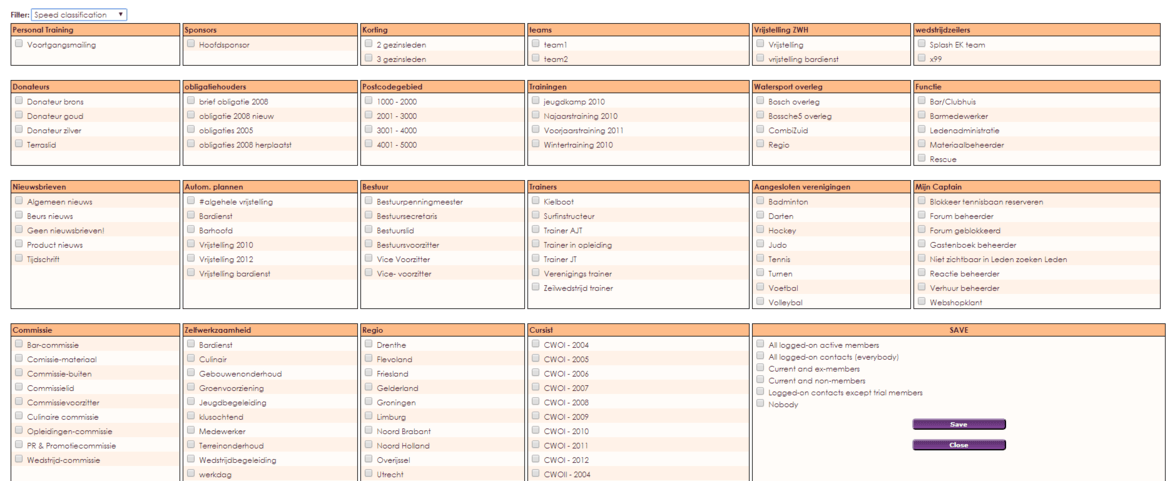
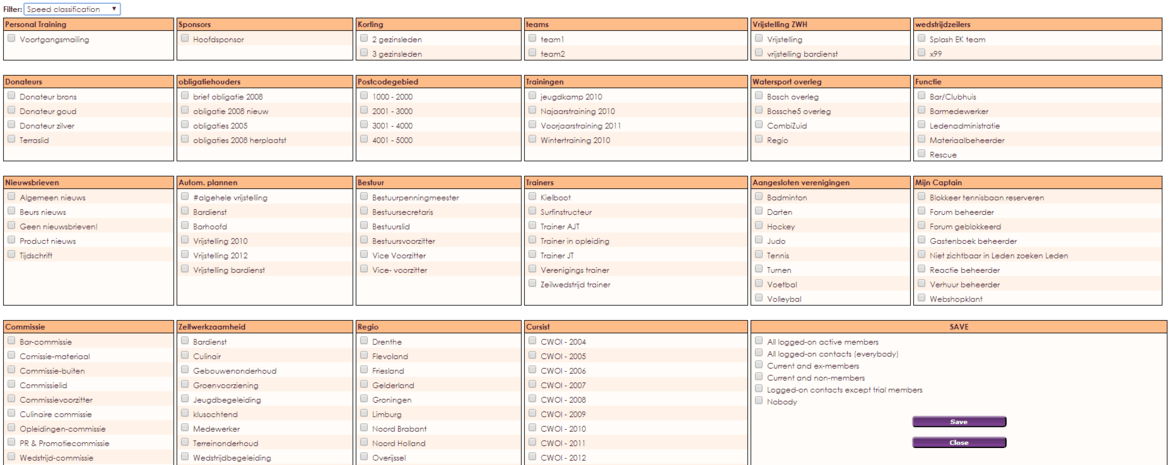
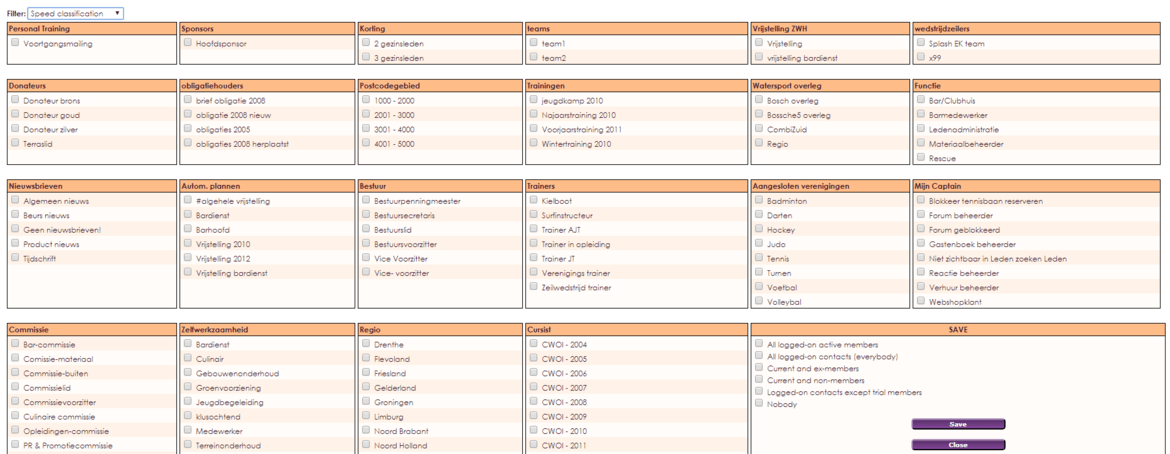
  • The pop-up that opens, shows an overview of the created groups of the organization.
  • Select which groups have rights for the concerning page.
  • Click save after this.  


my-secured-items-10


  • e-Captain will show a notification that the changes are saved succesfully.


my-secured-items-11


  • You can see which pages are closed and which aren't by looking at the lock in front of the page.


my-secured-items-12

Secured files

After creating the link in the menu, the file has yet to be made and the groups that have rights to the file are added. This document explains how to upload files to e-Captain so that you can access them on your organization's website.


• Go to Website Management 2 in the main menu.
• Go to the Files item.


my-secured-items-13


  • Click behind the file that has to be set to private at the IconS Eigenschappen icon.
  • Select the yellow lock in the characteristics screen.


my-secured-items-14


After selecting the private file box, click on this link : Click here to manage access.


my-secured-items-15


  • The pop-up that's opened, shows an overview of all created groups of the organization.
  • Select which groups have rights for the concerning file.
  • Click save after this.


my-secured-items-16


  • e-Captain will show a notification that the changes have been saved successfully. 


my-secured-items-17


  • By means of the lock in front of the name of the file, you can see at once which files are private and which aren't.


my-secured-items-18

Secured menu items

In addition to private files and pages, it is also possible to make menu items within e-Captain. As a result, the pages or files that are linked under the relevant menu items are not visible until you have logged in with the My Captain login details.


• Click on Website Management 2 in the main menu.
• In the submenu, select the Menus item
• Select the appropriate menu from which menu items have to be made.
Click on the IconM hamburgericon to view the menu items overview.


my-secured-items-19


  • Click on the IconS Edit icon in the menu.
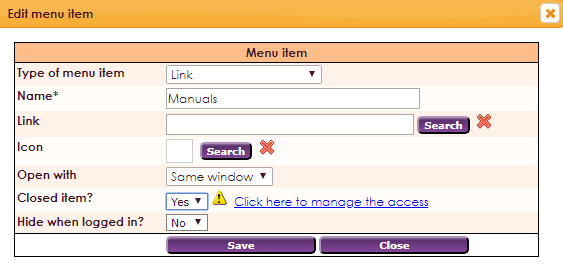
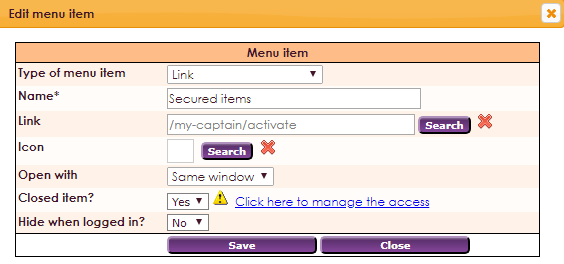
  • Change Private item? from No to Yes.


my-secured-items-20


  • After this, click on the link: Click here to manage access. 


my-secured-items-21


  • The pop-up that opens, is an overview of all created groups of the organization.
  • Select which groups have rights for the corncerning menu item.
  • Click save after this.  

my-secured-items-22


By using the lock in front of the name of the menu item, you can see at once which menu items are private and which aren't.


my-secured-items-23

Secured items on the website

The private items have been defined and the link to the menu item has been activated, now the member has to log in with the credentials provided by the organization.
 

  • Click on the My details link on the website of the organization.
  • Log in with the login details provided by the organization.


my-secured-items-24


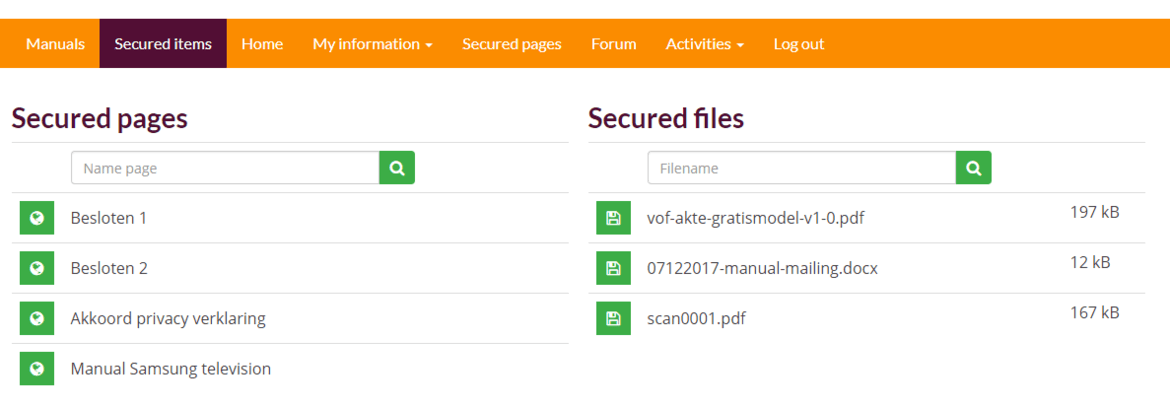
  • In the shown overview you can see the files and pages that weren't visible before. 


Get the most out of e-Captain!

e-Captain has a very extensive Member Management package. We offer several basic trainings which teach you to work with e-Captain in an accessible way.  The trainings take place at our office in  's-Hertogenbosch.

View our trainings


TeamViewer

To be able to support you optimally, it can be easy to look with you on your computer from a distance. We use TeamViewer to do this. TeamViewer makes it possible to take over your computer from a distance.

 Download TeamViewer


This page was last updated on: 2 August 2018