A website without a menu is actually one page that contains information that you scroll through if it contains more information than your screen can show at once. Your website can also contain so much information that it can not be presented on a page because otherwise you have to scroll a lot or because, for example, the information is so diverse that it breaks down into different parts. It is better to use a menu in which you name the different components separately.
By using a menu you can also suddenly jump to that part or to the page you want to go to. The website is organized by dividing information into pages. In this version of the CMS you can use multiple menus. You may, for example, have a main menu on the website and also a menu on the page. So you can create two or more menus if needed. Webmasters will do that to further divide the information into, for example, chapters that are clearer and logically arranged.
The menu has become a widget within the new CMS that can be placed anywhere within your website. The settings are placed in a separate item in the submenu of Website Management 2.

| Add | Add menu | |
| Example | View menu | |
| Edit | Change menu | |
| Delete | Delete menu | |
| Menu items | Change menu items |
In addition to the standard menu that you will find directly in e-Captain, you can create menus yourself that you want to use on the website or in pages.
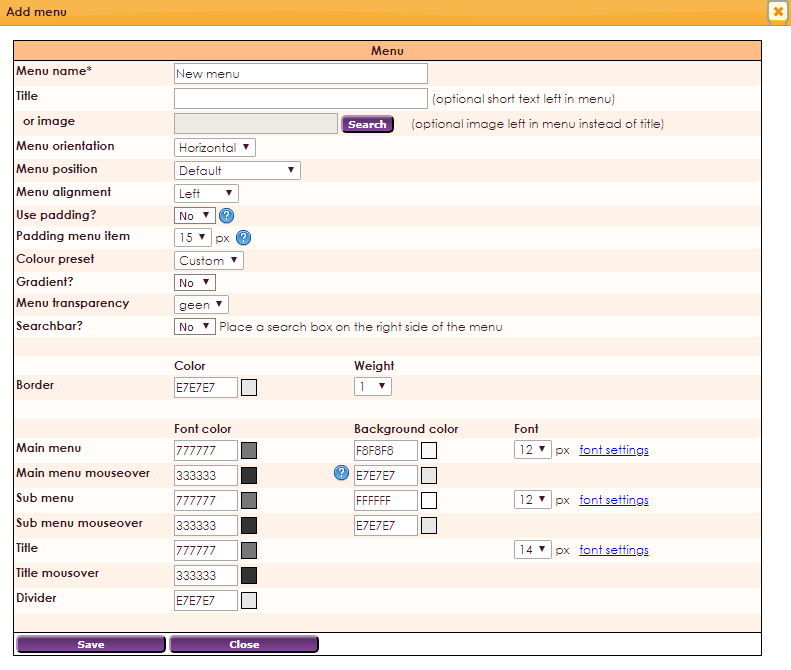
Menu name :here you give in the name of the new menu. 
Title: An optional short text in the menu on the left. The title you give in will be shown on each page where you use the menu. 
Image: EAn optional image on the left side of the menu. You can add an image instead of a title.
Menu-oriëntation: Horizontally / Vertically. How the menu is shown on the page.


Menu alignment: Left, Center, Right
Use padding: Yes/No. Without side space, the menu can be used over the full width of the row.


Pre-set colors: The e-Captain standard colour themes can be loaded in the menu. If you choose Adjust you can create your own colourtheme.

Gradient: Apply a gradient to the menu.

Searchbar: Yes/No. Place a searchar on the right side of the menu. 
Border: Here you can set the thickness and color of the frame surrounding the menu.

Textcolor, backgroundcolor, lettertype: This section of the menu settings involve textcolor, backgroundcolor and lettertypes.

Down here, you can see an example of the settings shown above. After setting the theme of the menu, you can set all menu items.

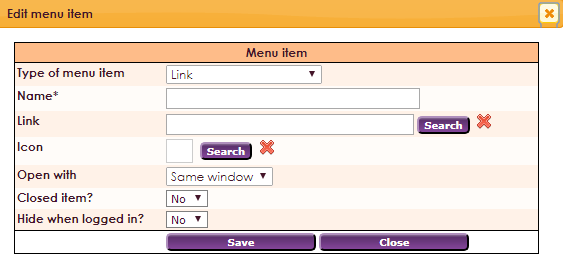
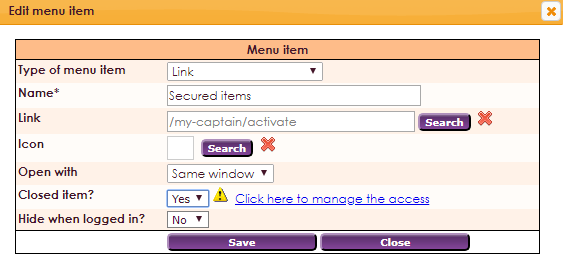
Type of menu item |
Link of tussenregel (tussenregel in het menu is een opsplitsing tussen de menu items) |
| Name* | Naam van het menu item |
| Link | Kies een type link uit de uitklap lijst. (pagina, nieuwsbericht, externe link, fotoboek, et cetera) |
| Icon | Een icoon dat te koppelen is aan het menu item |
| Open with |
Open de link in hetzelfde venster of in een nieuw venster |
| Closed item |
Mogelijkheid om het menu item besloten te maken voor een bepaalde groep leden. Het item wordt pas zichtbaar nadat men is ingelogd |
| Hide when logged in? |
Mogelijkheid om het menu item te verbergen als de leden zijn ingelogd |
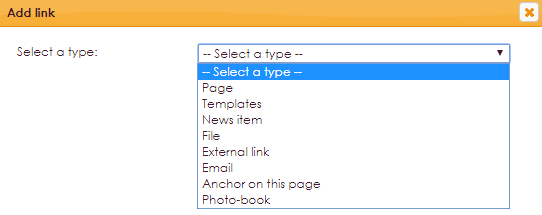
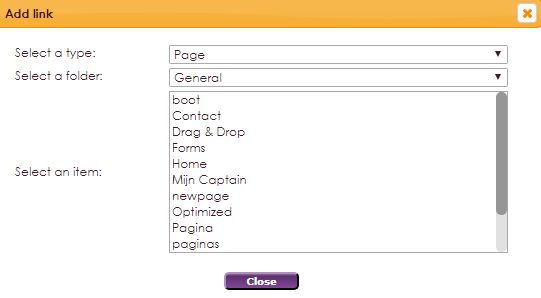
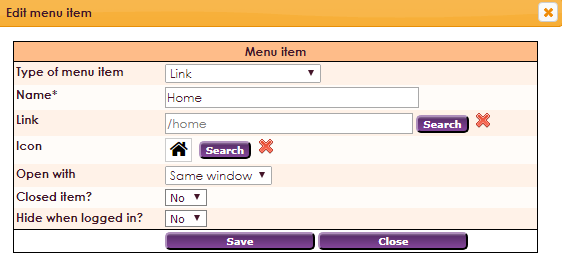

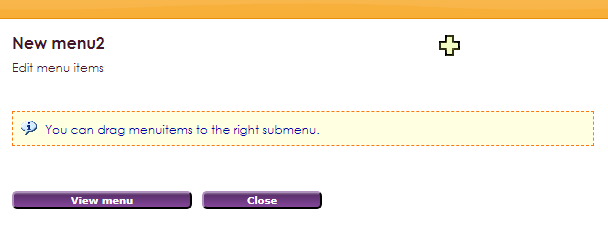
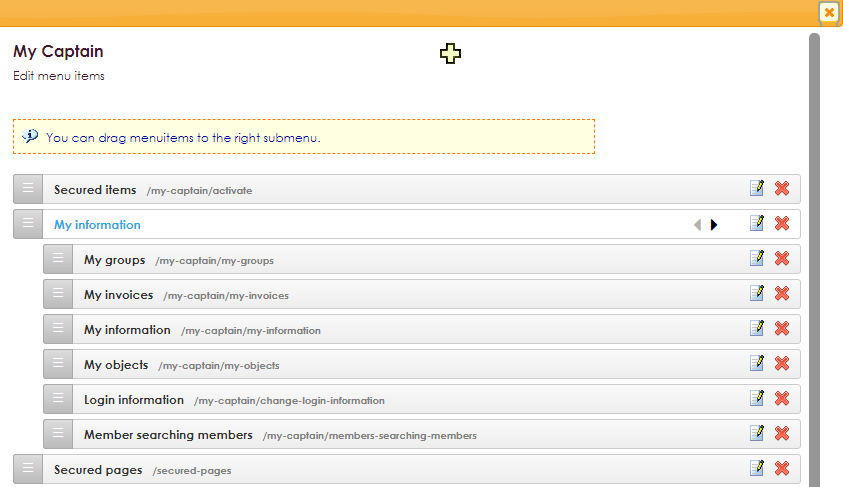
If you created the menus and submenus, it could be that you''ld like to change their order or add something.
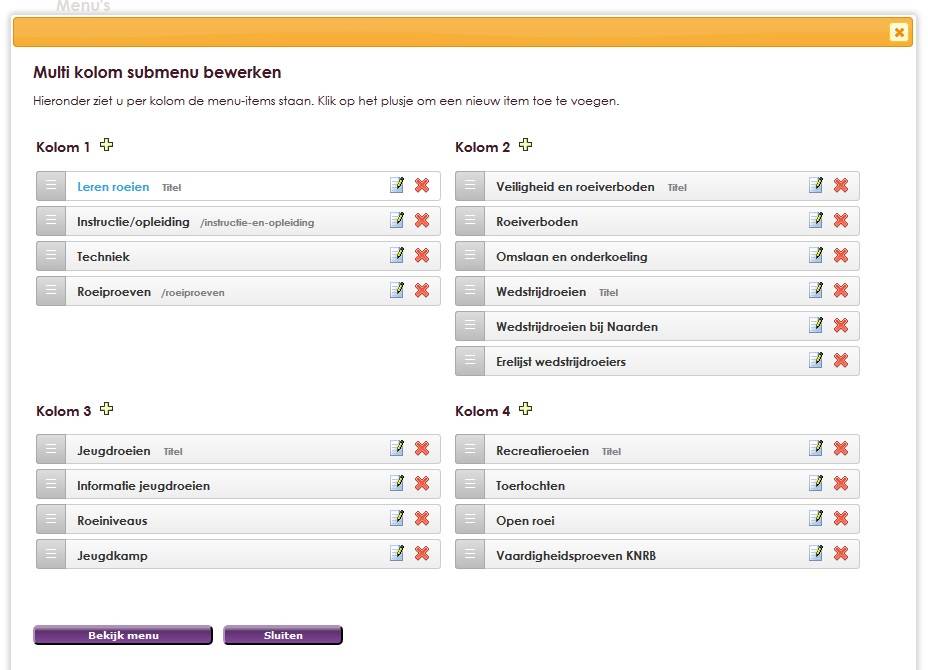
To create a submenu, you also have the option to create a submenu consisting of multiple columns, the multi column submenu.

To create a multi column submenu, click on the yellow plus in the menu to create a new menu item. Select the "Multi column submenu" option and enter the parameters. You can always adjust this later. Then drag the multi column submenu to the right place in your menu. Click on the left edit icon to add menu items to the multi column submenu.
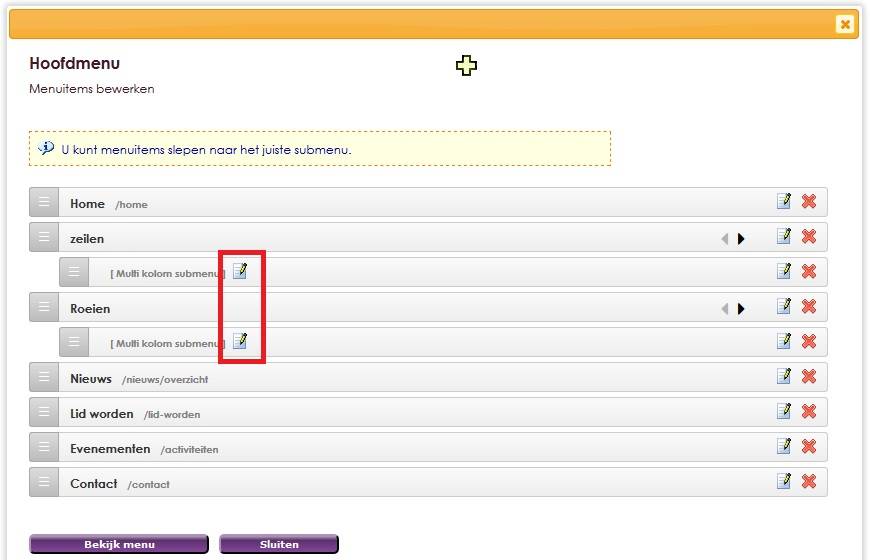
You can add a new item per column with the yellow plus. There you have the choice of adding a title or link. Items can be dragged to the right place with drag and drop. Also to another column.
After you have created all menu items and changed the appearance via the settings, you can view them before you place the menu on the website.

To display the new menu on the website, we need to add it to a page or to a layout. In the layout, the menu is shown on all pages. But you can also choose to place a unique (sub) menu on each page.

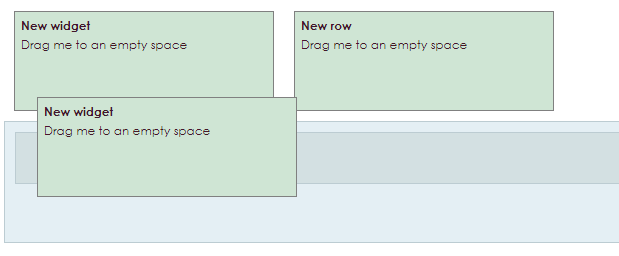
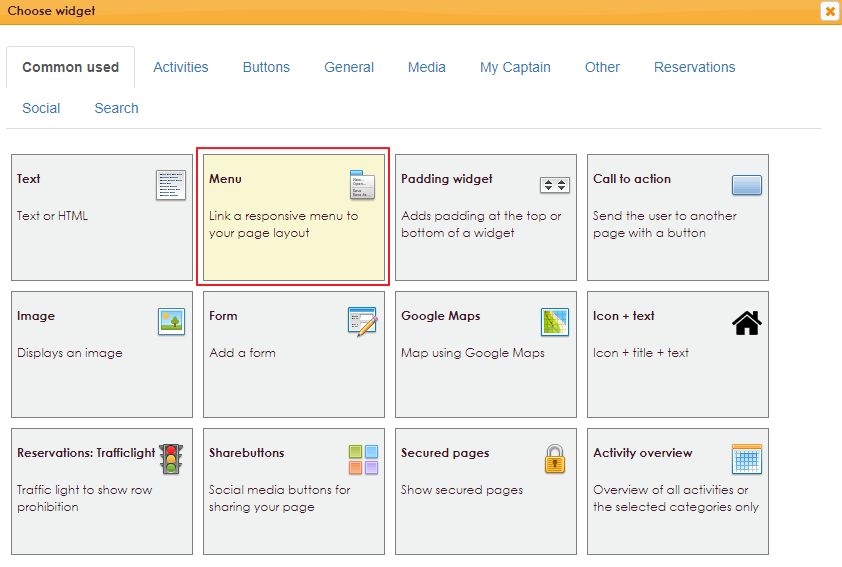
• In the pop-up that opens you can link the correct menu to the row.
• Click the Save button to link the menu and return to the layout or page.

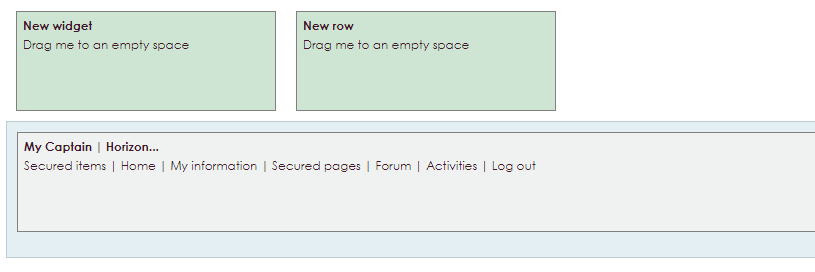
After you have published the unpublished changes via the navigation menu, the new menu will be immediately visible on the page.

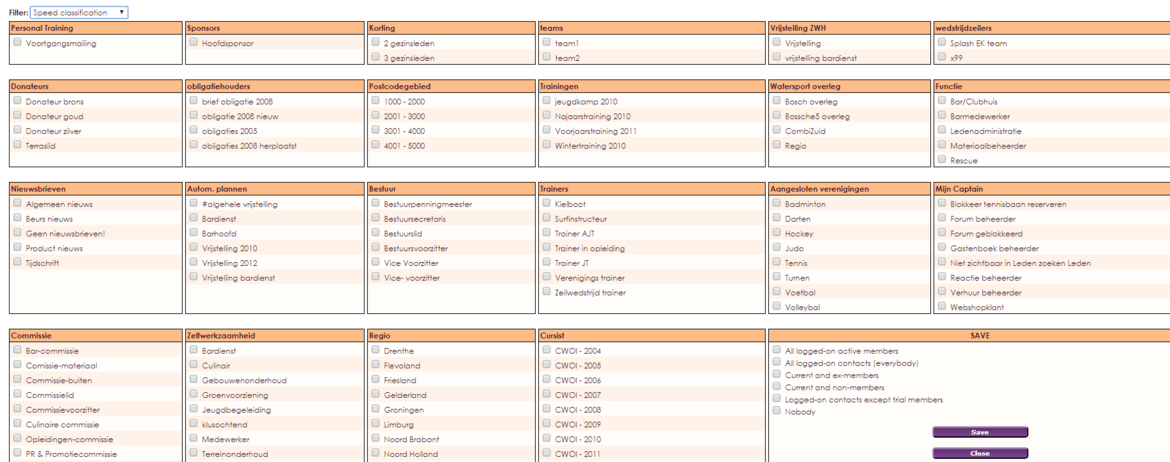
In addition to private files and pages, it is also possible to make menu items within e-Captain. As a result, the pages or files that are linked under the relevant menu items are not visible until you have logged in with the My Captain login details.

• In the pop-up that is opened, an overview of all created groups of the organization is visible.
• Check which groups have rights for the relevant menu item.
• Then click the Save button.
