The appointment planner gives you the possibility to plan a meeting and propose a few data to a group of attendees. They can indicate their preference, where after the organising person will decide the definite date.
- Choose appointment planner after you choose Contact Info
- Click on the
 icon to make a new appointment.
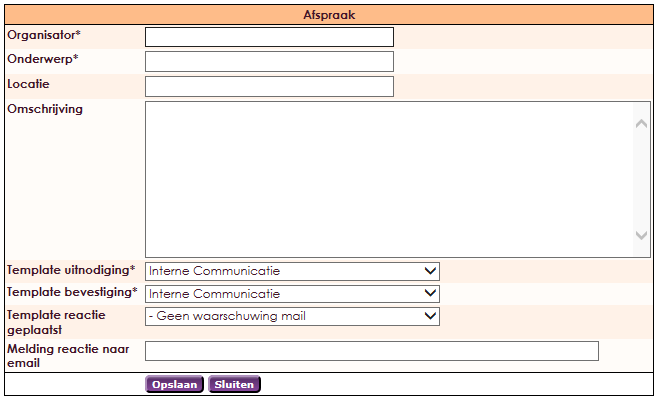
- Fill in your data. The organizer is also used as sender in e-mailcorrespondence.
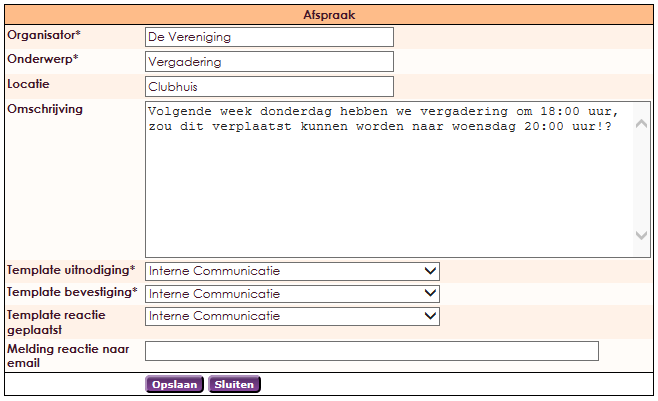
The template you want to use for the appointment can be chosen here as well. You can create templates at mailing messages. There's a possibility to use different variable fields. The manual for Styling and Templates can be found : hier.
- If you fill in a template at Template responded you'll receive an e-mail on the set e-mailaddress when a participant responds for the first time.
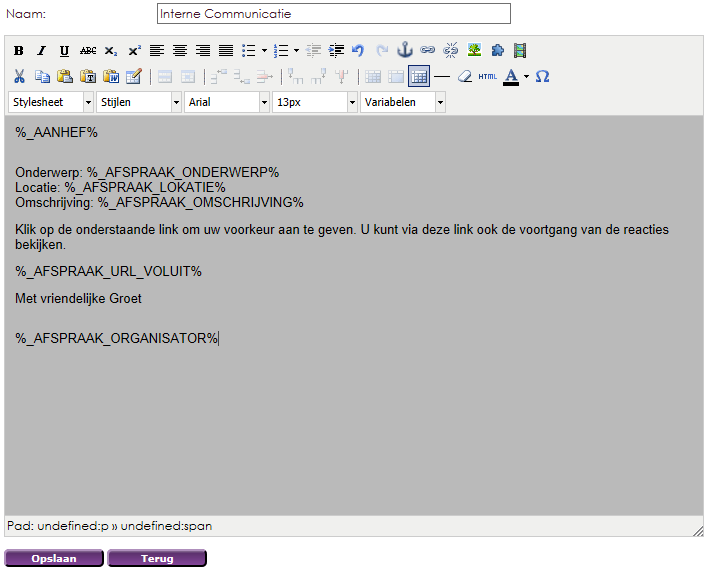
Here you fine an example of a template. You can layout your e-mail as you like.
This is an example of how the e-mail looks to the receiver.

- After saving the appointment, you return to the main menu.

You add participants there:
- Click on this
 icoon
icoon
- Click on Choose participants

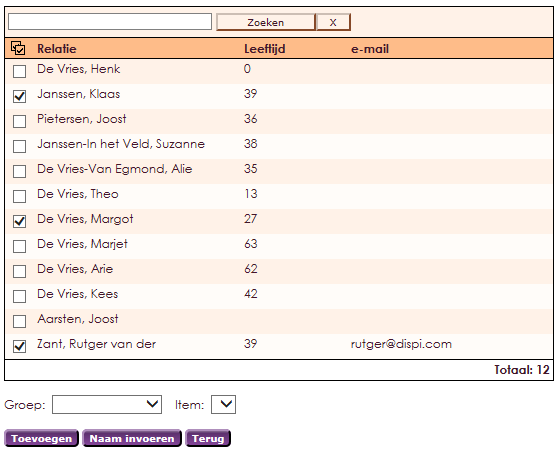
A list of all participants appears. You can also add participants that are not yet in e-Captain.
- Click add to return to the screen you started with.
- By clicking on the date icon, you can insert an end date (optionally).
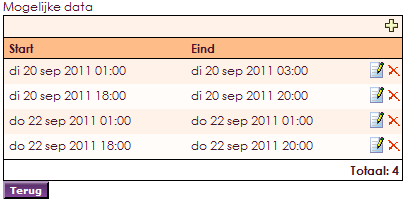
If everything is inserted correctly, you can start inviting. To test if the invitation is as you like, you can start off with sending yourself an invitation.
- Go to persons --> click on the
 icon to go to the participants list.
- Click on Extra mail.

- Choose Mailing Template and choose the same invitation.
- Select your own name and send.
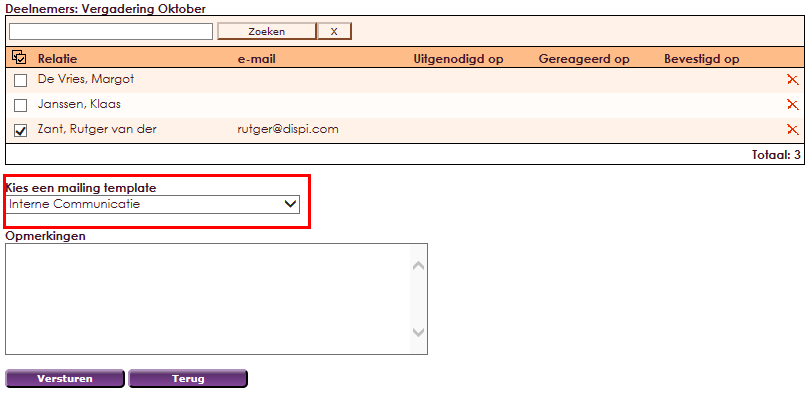
- See if the layout is okay if you receive the mail.
- If it is, use the Invite button to send an e-mail to all participants.
- If you added people after you've pressed invite, press Invited on to see who hasn't been invited yet.
- Press Invite again to invite them.

- Participants respond by giving their preferences. You can follow the responds with statistics.
- If all participants responded, the organizer receives a mail with a link to see the outcome.
- If you have to send an e-mail beforehand, use the Extra Mail button.
- Click on the
 icon to see the state of your appointment.
- To set an appointment: e-Captain fills the date with the most positive responses.
- Confirm this by pressing Confirm Date or by clicking Set date and send confirmation mails.
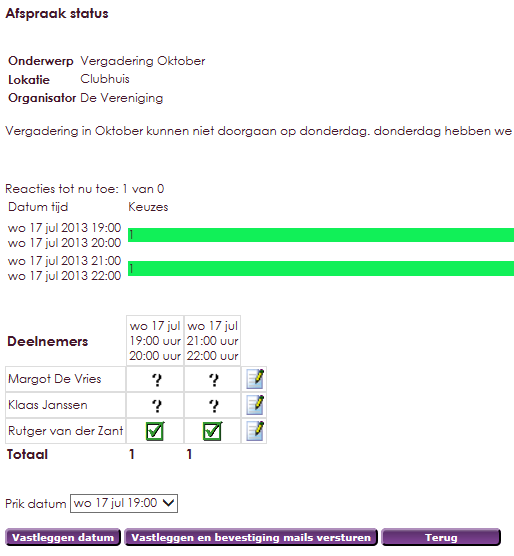
- If new people are added after the confirmation was sent, you can see who hasn't ha an e-mail yet by clicking Confirmed.
- Click confirm afterwards.
Would you like to change the date or resend the confirmation e-mail, press Change Date. You'll now return to the screen shown above.

- You can give in someones preferences if someone is unable to respons through clicking the link.
- Click the note icon next to the name in the statistics window.


