After members have registered on the club website, or in case you have registered members yourself to an activity, you can manages those registrations.
- Select Activities in the main menu.
- In the sub menu, select List of activities.

- Select the
 icon to open the following screen. In this screen you can manage the registrations for this activity.

In the screen above you can see all people who registered for that activity. Below follows a brief explanation on the buttons:
 |
Remove participants from an activity |
 |
Participant has paid for the activity |
 |
Edit registration |
 |
Participant has been invoiced for the activity |
- By selecting the purple Adding participants button, you will open the membership management summary.
- Select a member or a group of members to add to the activity and select the OK button.
- If an extra field was linked to the activity, the pop-up screen below will appear.

- Select the Save button after entering the selection to proceed and close the pop-up screen.
- e-Captain will ask if the registered member must be notified about the registration.
- By selecting the Send email button, the participant will receive confirmation of the registration to the activity.

- After sending the confirmation, you will receive confirmation that the email has been sent.

- If the email address is unknown or there are internet problems, you will receive a message stating that no mail was sent.

- The member has now been added to the activity.

If an activity has a restricted number of participants but there are more members that would like to participate, then members can be placed on a waiting list. A waiting list must be created for each activity.
- Select Management centre in the main menu.
- Select Activities.
- Select Manage categories and select the correct category fro which you would like to create a waiting list.

- Select the Allow waiting list for this category? box.

Manage member waiting list
- Select Activities in the main menu.
- Select List of activities in the submenu.
- Select the
![IconS_Leden]() icon to open the screen below.
icon to open the screen below.

In the example above there are three members registered for the activity. This fills the activity. This activity permits a waiting list. By allowing a waiting list, there are three other members that are on the waiting list. If a registered member cancels, a place will open for people on the waiting list.

- If a place opens up you can select the Allocate waiting list button.

- In the screen that opens, you can select a participant from the waiting list. This can be the participant that is first on the waiting list or any other participant.

- Select the Allocate button to transfer the member from the waiting list to the activity participant list.

The member has now been added to the activity and if the option is checked, the system will send an email to confirm registration for the activity.
If a participant to an activity wants to cancel, he/she can do this through the club/organisation’s website. A member can also cancel through the club/organisation, after which the membership administration records the cancellation.
- Select Activities from the main menu.
- Select List of activities from the sub menu.
- Select the
 icon to open the screen below.

- Select the
 icon in front of the participant’s name to cancel the registration of the participant.
- e-Captain will ask if you are sure that you would like to cancel the registration.

- Next you will be asked if you would like to inform the participant automatically of the cancellation with an email.

If a participant has paid using the electronic payment option, or if the cost have been invoiced, e-Captain will confirm this by placing the  icon in front of the participant’s name.

- If you would like to remove a participant that has already paid, you will receive the following message.

Warning! If the activity has been paid or invoiced, you will have to refund the amount paid for registration to the activity to the account of the participant.
- Use Remove Participants to move a participant from activity A to B. Use the black arrow to do this.
 .
.
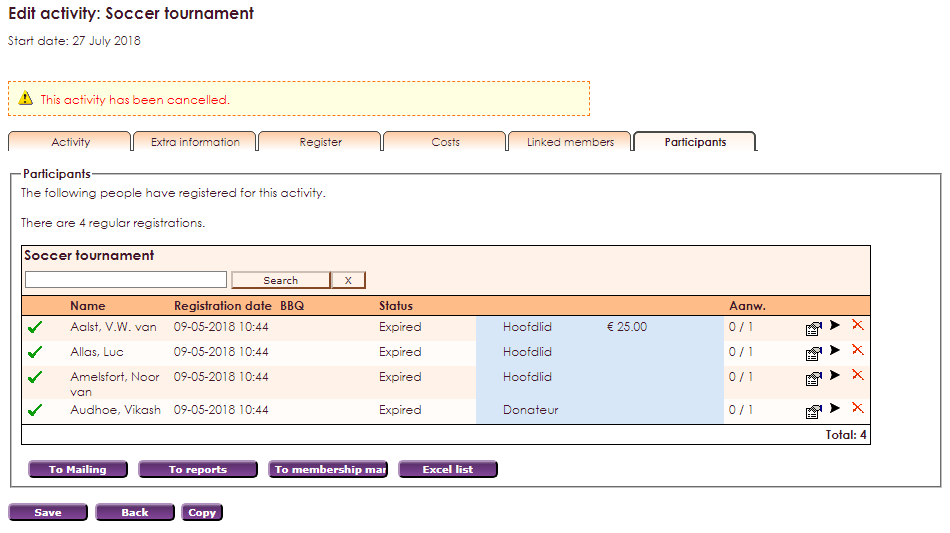
The following screen opens:

- Press continue to view both activities and to see their differences.
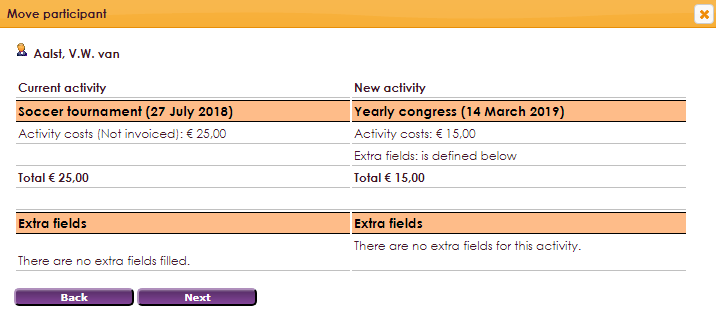
- Check the extra fields if they're correct before you continue.
- The next window shows you the financial overview.
- If you press Finish the participant will be moved from the one activity to another.
Use to mailing to send all participants or employees an e-mail.
- Click on Activities in the main menu
- Choose activities list in the sub menu
- Press the
 icon to open the following screen.
- Press To mailing to see the following:
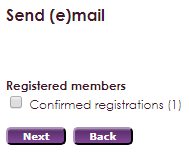
- Select to whom you want to send your mail.
- Click continue.
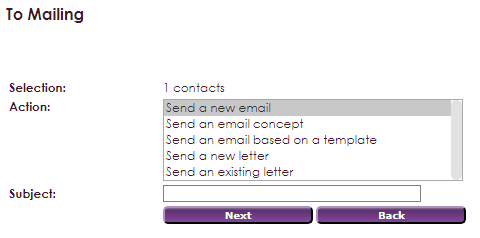
- Select your type of e-mail.
- The subject is obligatory, to make it easier to find back in the Mailing Module.
- Click next to open the following:
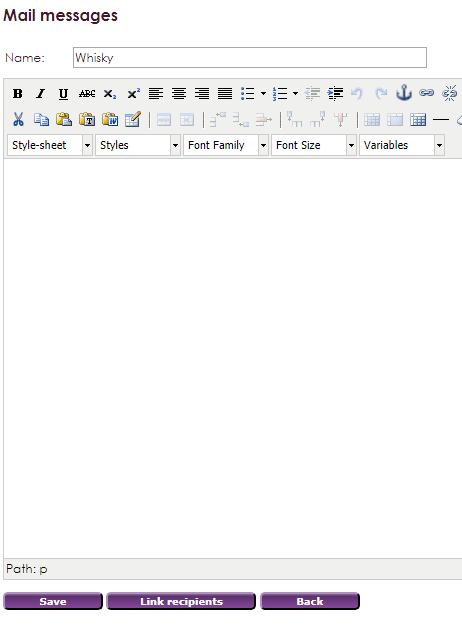
- Create your e-mail and save.
- Click on Link Receivers to link extra members. Participants and employees have already been linked.
- Click send mail to send your e-mail. You can also save it in the Mailing Module.
- If you select the to reporting button, you will see the following screen.
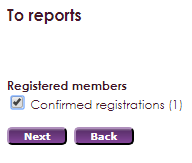
- In this screen, you can set parameters for the report you would like to see by using selection boxes.
- Select the Next box to open the next screen.
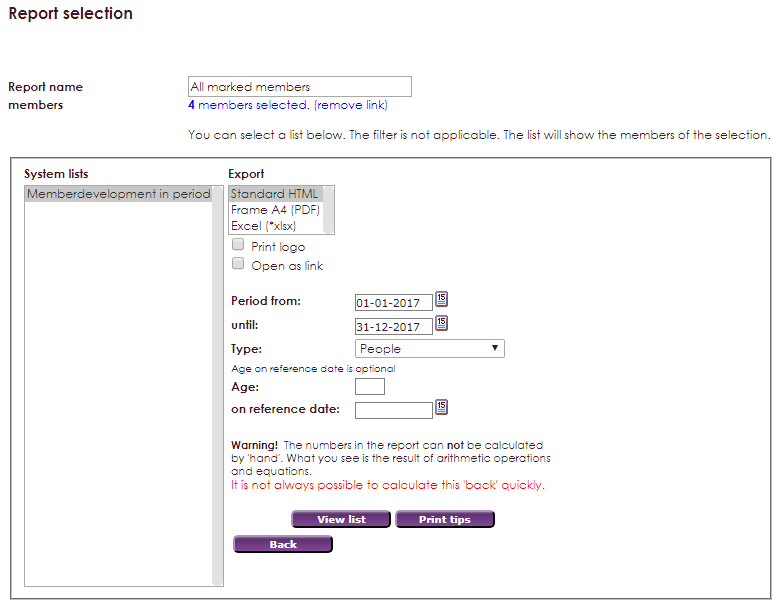
- In the System Lists column you can select which list you would like to see.
- In the Own lists column, you can select the lists thatyou created yourself.
- In the Export column, you can indicate the format you want to use.
- Once all parameters have been set, select the View list button.

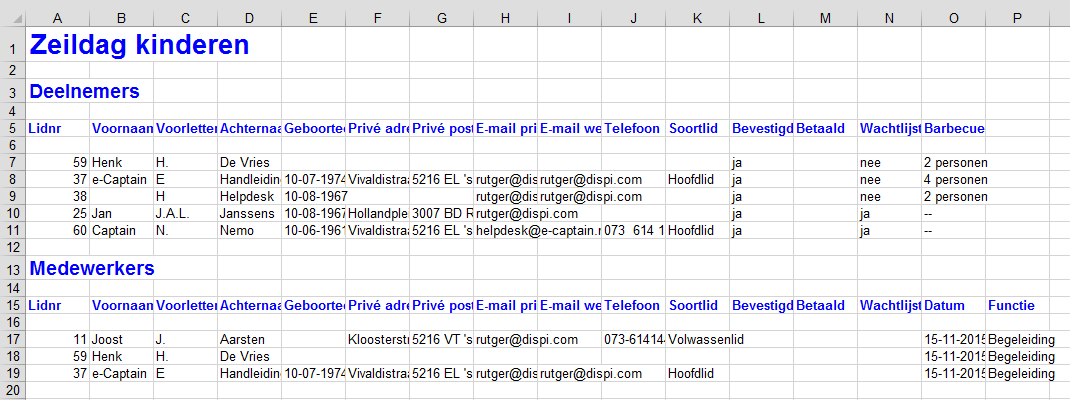
To get a summary of all participants and contributors for a specific activity, you can export the list to an MS Excel file.
- When you select Excel list, you will see a pop-up window asking if you would like to Open or Save the file.
- Select Open in this example.


![]()
![]()


![]()


![]() icon in front of the participant’s name.
icon in front of the participant’s name.

 .
.


