Adding new activities is only possible when minimal 1 category was made. You can create activities as followed:
- Choose Management Centre in the main menu
- Click Activities
- Choose Manage Activities
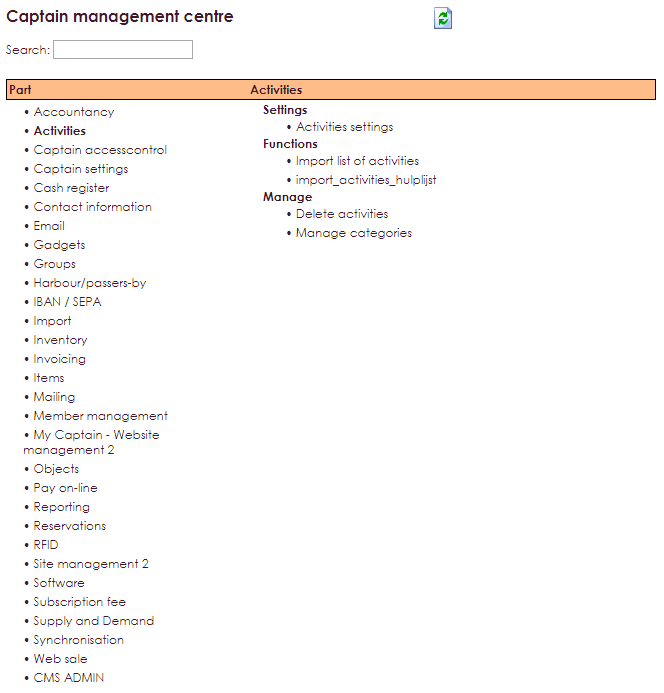
- Click New to make a new category.
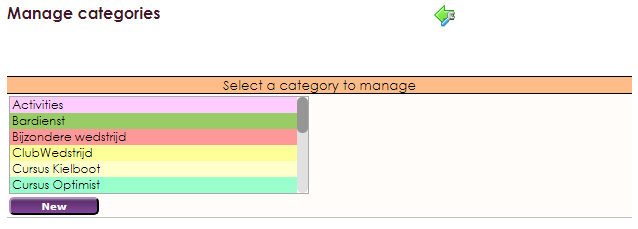
- Give the new category a name to be able to sort the activities.
- You can also select a background colour to keep overview between activities in the calender.

- Click Save to save changes and create the new category.
After you've made the category and saved this, more options will become available.
- Click on the right category you want to manage.
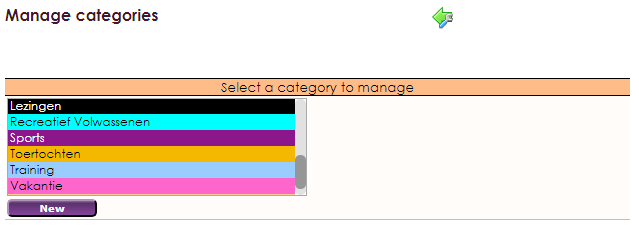
- By clicking on a category, you get more options.
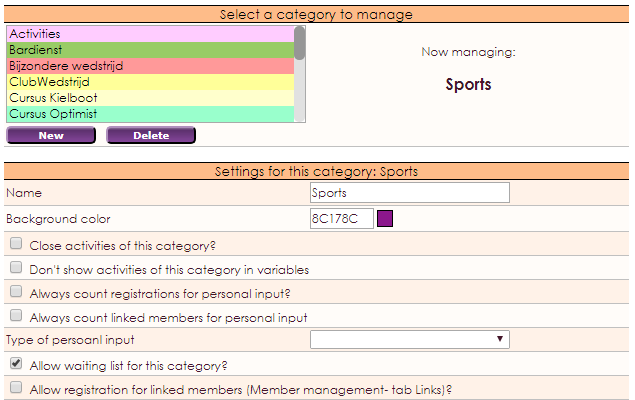
- It's possible to change the name and background colour afterwards.
- The stylesheet for the website can be linked to this category. If the activity within this category is also visible on the website, you can choose your layout for the activity page here. This option is only applicable if you use the old version of Websitemanagement, not for Websitemanagement 2.

- Make activities within this category private? This setting makes all activities wihin this category visible for members logged in to the website.

- Dot't show activities from this category: This setting hides activities from this category in an overview with variables. It's possible to use variables, e.g. in an e-mail, to make the coming activities visible.

- Allow waitinglist for this category? This setting allows you to put members on a waitinglist for an activity of this category.

- Register allowed for linked members? This setting makes it possible for linked members, linked to another member on the Links tab of a membercard (Membermanagement), to register directly for an activity in this category.
If you want to change the layout of a field you do as followed:
- Click on a Category you'ld like to adjust.

- Go to field view to manage which fields are obligatory.
- Select the field and then click on the
 icon. This makes the fieldname obligatory.

- If one of the fields remained blank with creating a new activity, the following notification will appear:

You can add standard notifications for each category, for members who register and linked members as well. Linked members can be find in the activity as employees. These members can join the activity, but are mostly helping out.
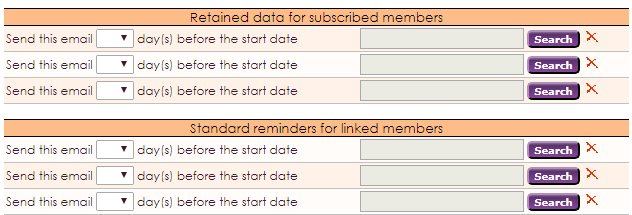
- These notifications can be send on various days.
- You can also create a template in the file Activity Notifications within the Mailing Module.
- More information about creating an e-mail can be found here: dit document.
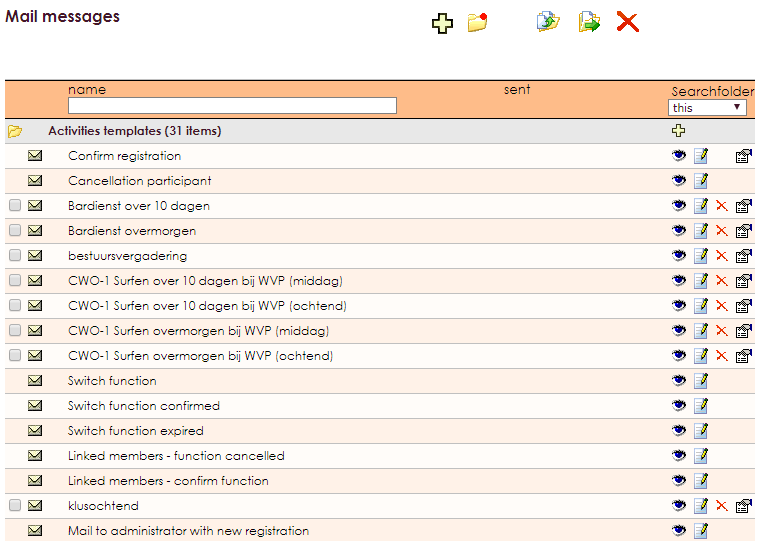
- After the template is made, you can link this to the notification.
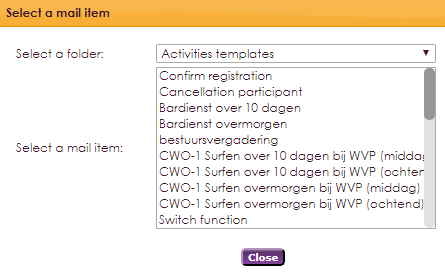
- Click on the Search button behind the notification.

- Select a pop-up in the template you want to send to the (linked) member.
- The concerning members will receive an e-mail X days before the start of the activity, with a reminder.


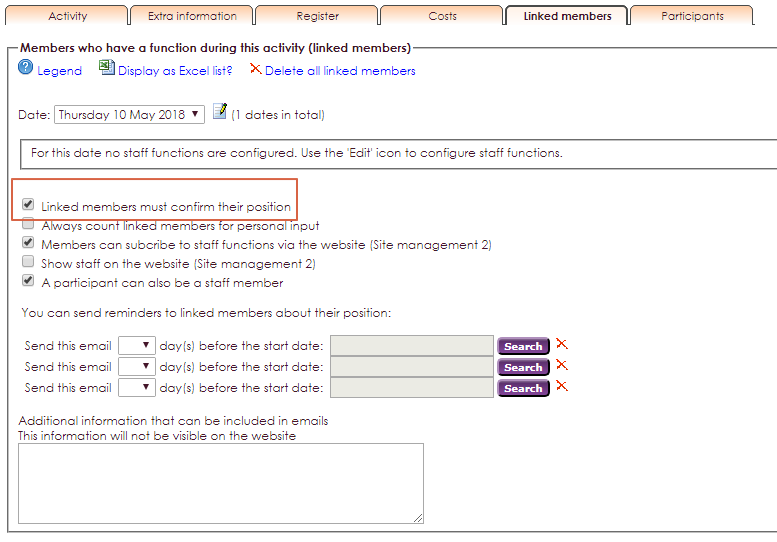
- Do linked members always have to confirm there function? this setting requires linked members to confirm there function, by clicking on a link in the registration message.

- Refresh function-confirmations for all existing activities in this category? This setting requires linked members to confirm there function for each activity in this category. It can be seen in the Employees tab. The change will be processed after you saved it. You can change this setting for each activity individually.
Besided the possibility to add standard notifications for each category, you can also send a divergent e-mail message in case of a cancellation withing the selected category.
- Press Search to select an e-mail or template.

Activities can be published on the website of the association. It's possible to make these activities public or private. If the activity is public, alle members, but also non-members can see this activity on the website. Is the activity private, members have to login first to be able to see the activity.
The option Assign groups (for private activities) is there to be able to make activities visible to certain groups. The activity will only be visible after login to the website of the association, for the selected groups. You only have to select the groups you want to include.
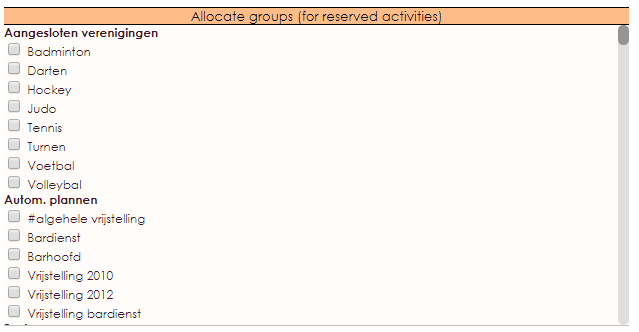
While Changing or creating an activity you can choose on the Setting tab if you want to make the activity public or (partially) private.

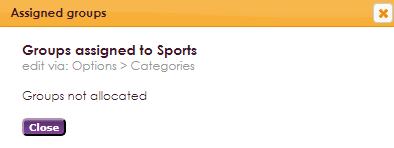
By clicking the  icon you'll see which groups are part of the assigned groups.
To place activities from a chosen category, with registration costs linked, directly into the right ledger, it's possible to link a ledger. You can also set the tax-rate that's used for this category.


![]() icon you'll see which groups are part of the assigned groups.
icon you'll see which groups are part of the assigned groups. 
