Adding new activities is only possible if at least 1 category is made. How to make new categories is explained in this document. dit document. To create a new activity you do as followed:
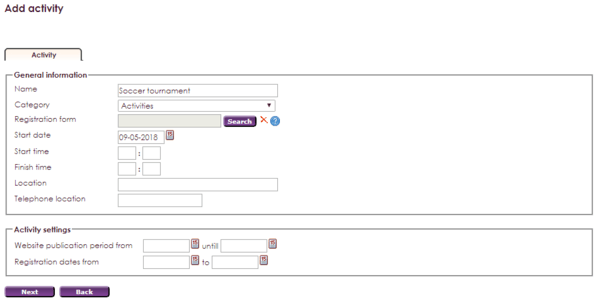


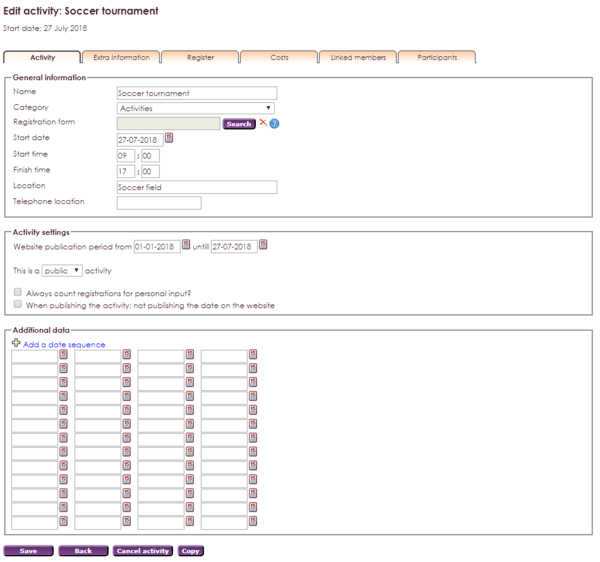

An activity can last mutliple days (e.g. sailing course that takes place every week for two months). Applications apply to all days of the activity. If people have to be able to apply for individual days, you'll have to make seperate events.
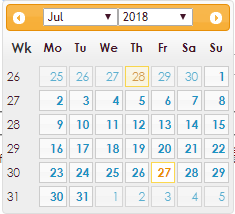

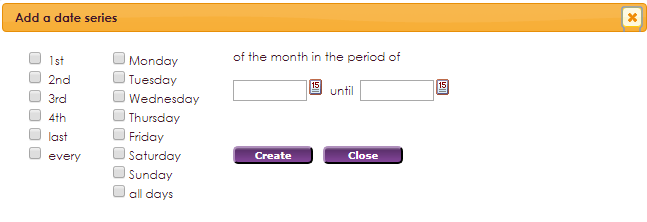
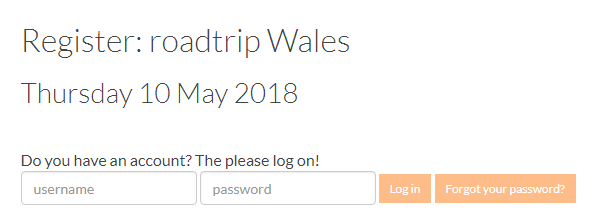
Activities can be published on the website of the association. It's possible to make these activities public or private. If the activity is public, alle members, but also non-members will be able to see this on the website. If members apply, they'll need to login with their account. If non-members apply, they fill in an application form. If the activity is private, members will have to login to be able to see the activity.

Through Manage Categories in the Management Centre, you can select activities for each category, in which members of certain groups can get permission to see and apply for an activity.
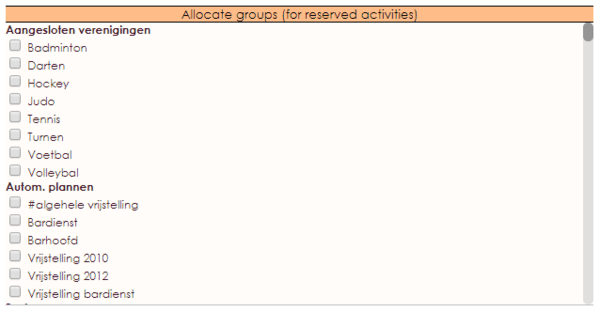
This makes the activity only visible after login into the memberpart of the website, only for allowed groups.
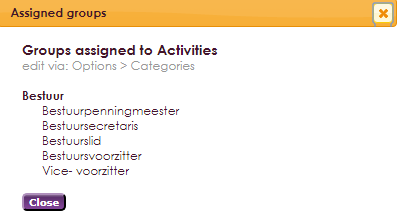
Through the tab Extra Information it's possible to add information fields to the activity. This information will be shown when chosen for publication on the website. You can add extended information about the event. It's also possible to link to an extern page with information.
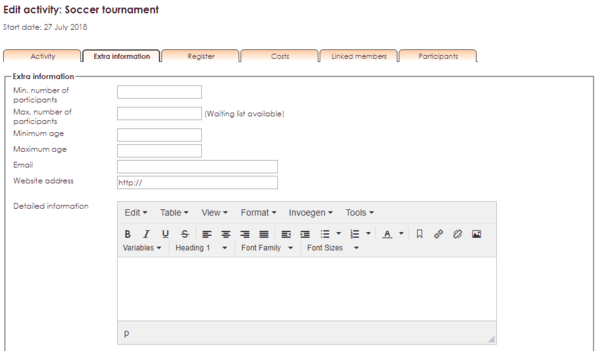
If the maximum amount of attendees is reached, there will always be a full=full sign, unless you selected an allowed waiting list when making the Category.

If this option is selected in the right category, a waitinglist shall be available.

In the tab Register, there is an opportunity to add and adjust the registration period. You can also add the maximum date to which people can cancle their registration. Mailing options of the activity are available here as well.
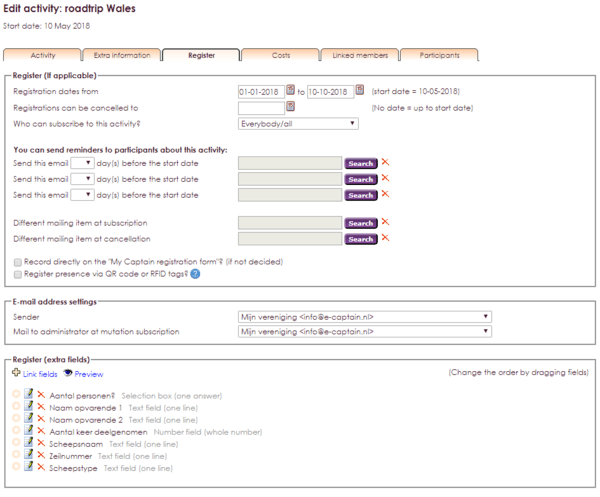
You select if people may apply for the activity here. You fill in a date of stard and date of end. People may register in this period for the activity through the website of your association. If no period is selected here, the activity is visible, but registration is not possible.

If it's possible to cancel the activity, you can select a date to where people can do so. If you don't fill in a date, the activity can be canceled until the start of the activity. With the extended menu Current Members, you can select who is allowed to register for an activity. Are this only current members, members and non-members or is everyone allowed to register? If you select that it's only allowed for current members to register, members should login first before they can register. Non-members get a registration form to fill in the required information.
Attendees to an activity can receive notifications. These notifications can be made in the Mailing Module.


E-mailhandling of confirmations and mutations of registrations is possible through this tab.

Sender of mailing: You can select an e-mailaddress through the extended menu that will be used as sender address for all communication towards the member.
Message to administrator when mutation of registration: Again through the extended menu, a receiver can be selected whereto mutations for the activity go. Mutations for a sailing week can go to the organizing committee instead of the memberadministration or the general e-mailaddress.
You can add more fields in this section, to show extra costs or more information. If you want the attendees of the activity to join a barbecue:

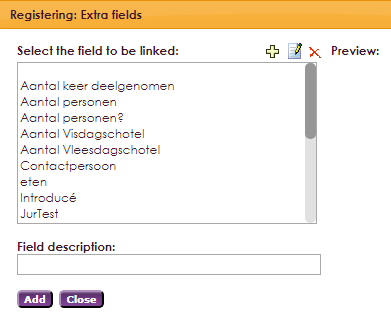
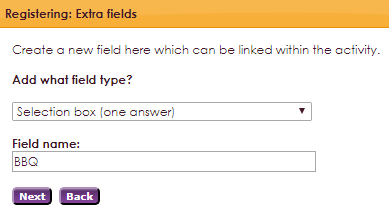
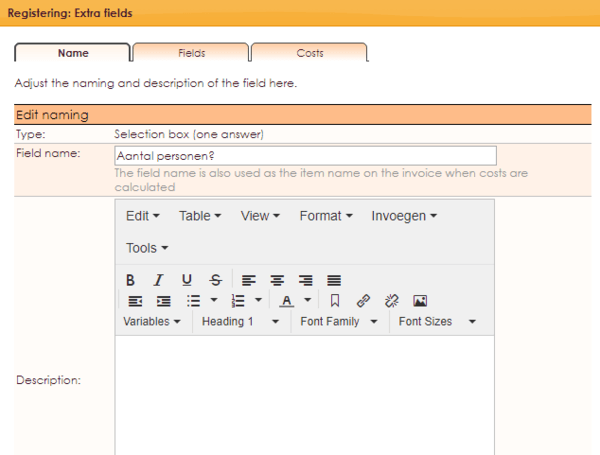
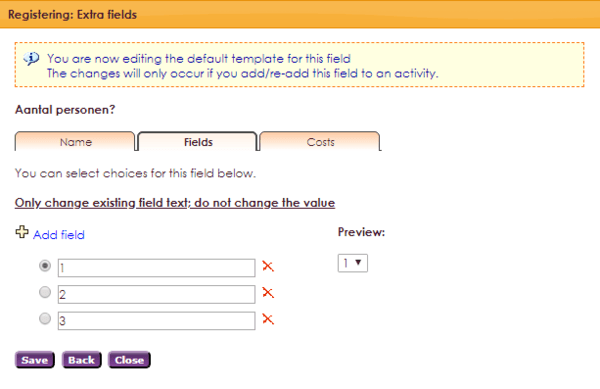
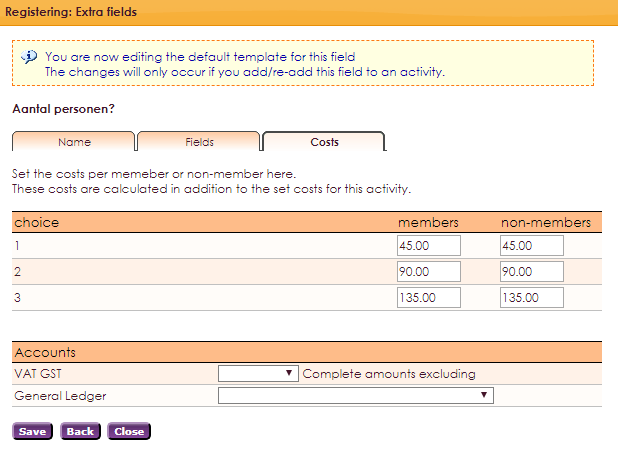
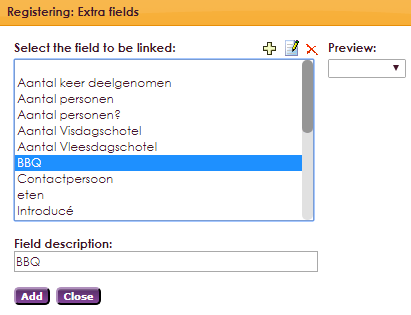

If you have an activity with extra fields and you delete the activity, you also delete the extra fields. If you delete an excursion and barbecue and some people only register for the barbecue, you will have to make a second event for the barbecue.
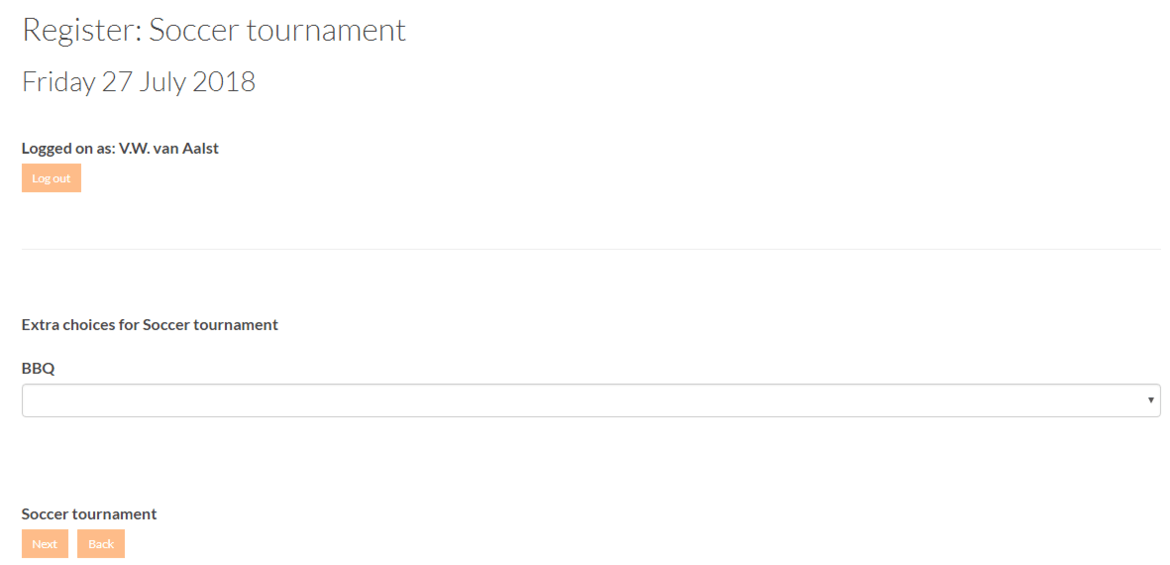
There are 3 options in the costs area:
Option number 1 is no costs.

The second option is a price for members and non-members. You can differentiate the price between members and non-members, like intro's or family members. There's an opportunity to add multiple dates, which will make early booking discounts possible. If you don't enter a date, the price applies to the entire registration period.

The third and last option is a price for each member type. This allows you to vary prices between the member types. Early booking discounts or last minute discounts are possible. If you don't enter a date, the price is for the entire registration period.

If there are costs associated with the activity, it is possible to directly enter a general ledger account for the accounting.

Cancellation costs
e-Captain also offers you the possibility to charge cancellation costs. Here too, you have the choice to charge a fixed amount for this or to opt for different cancellation costs depending on when you cancel. The cancellation costs can be a fixed amount or are expressed as a percentage of the costs of the activity.

Through the tab employees you can link (non) members as employee to an activity. For example: a sailing day for youth, will probably involve a lot of helping parents. They will help, but won't be joining the activity itself. By using the tab Employees you can send these people notifications of the event.
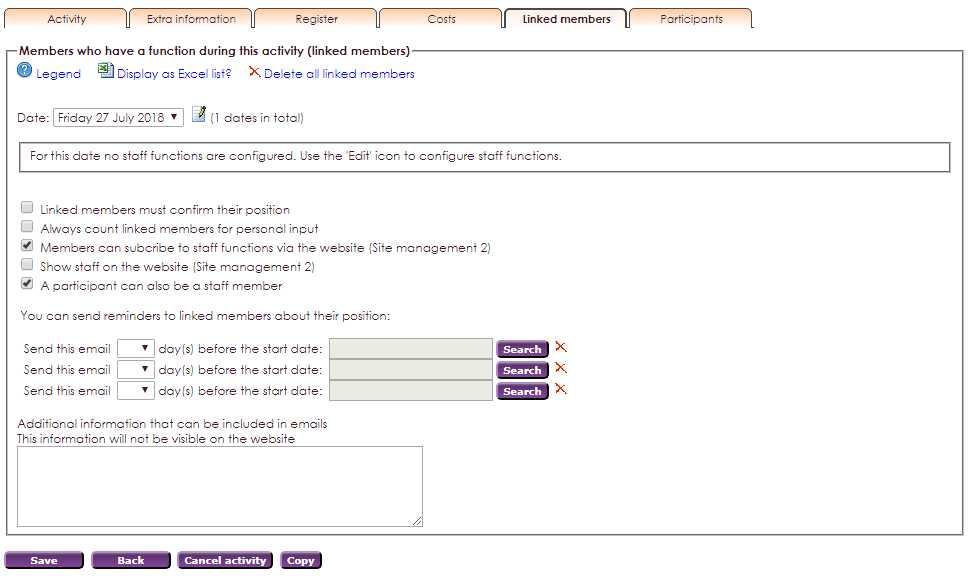
Before you can link employees (or make registration possible) you have to make functions. The different functions can be made in the Management Centre, Groups, Maintain Groups, and then you can select: Functions Employees.
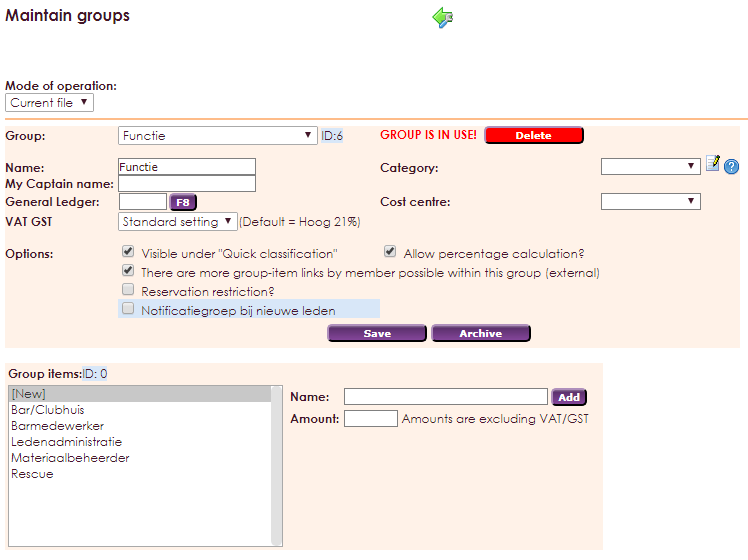
If the functions are made you can link relations in Member Management. At the activity you can link functions. Select the date and press the "change" icon.

In the next pop-up screen you can select per function how many people you need min. and max, that's obligatory. If you don't need that function, leave both option fields empty.
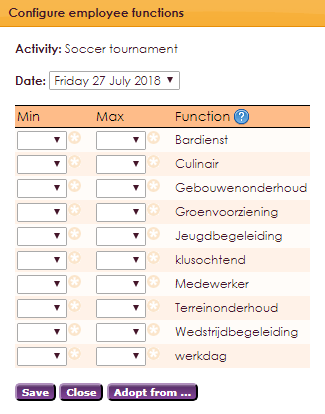
You can indicate that some functions can only be executed by members of that group by using the star sign (*). If you save the settings and close the window, you see the elaboration in the Employees tab.
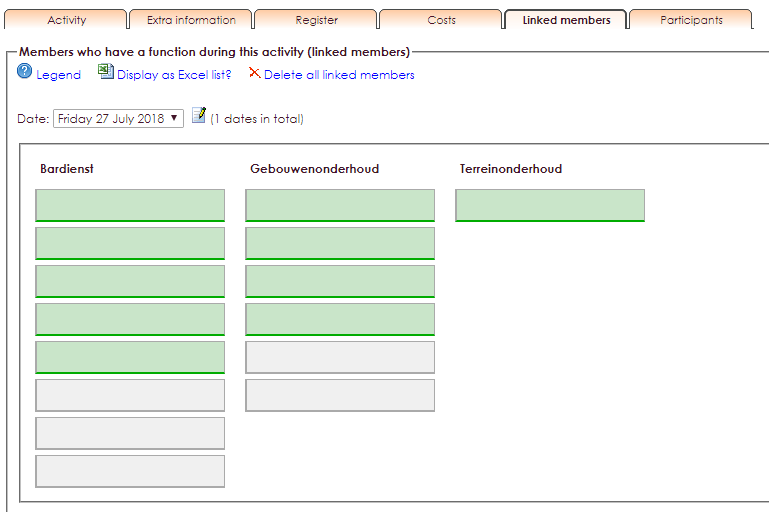
By pressing a block you open the member management window and allows you to add people as employee.
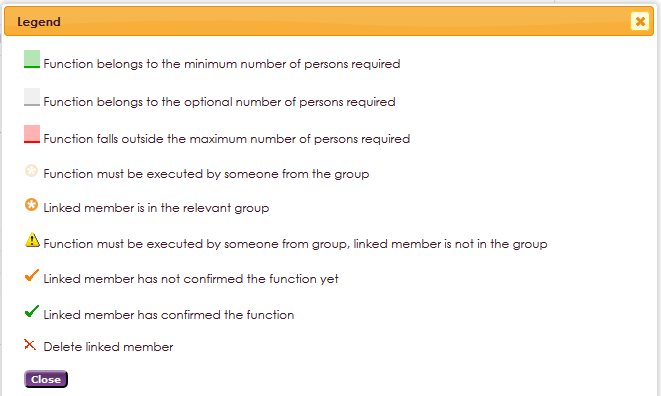
Green marked blocks show the minimum number of employees that is needed. The gray marked blocks is the optional number of employees. The red marked blocks indicate the maximum amount of employees is exceeded or the minimum not achieved.
You can drag people from one function to another. Click on the person you want and drag it to a new function.
Legend
In the employees tab you find a link with the legend of colours and icons.

The activity overview shows how many of the functions has been taken care of to be able to let the actiivity take place.

Linked members (employees) that are linked to an activity, can receive notifications for the activity. These notifications can be created in the Mailing Module.


You can add attendees and mutations on the tab Attendees. You can also adjust the order of the waiting list there.
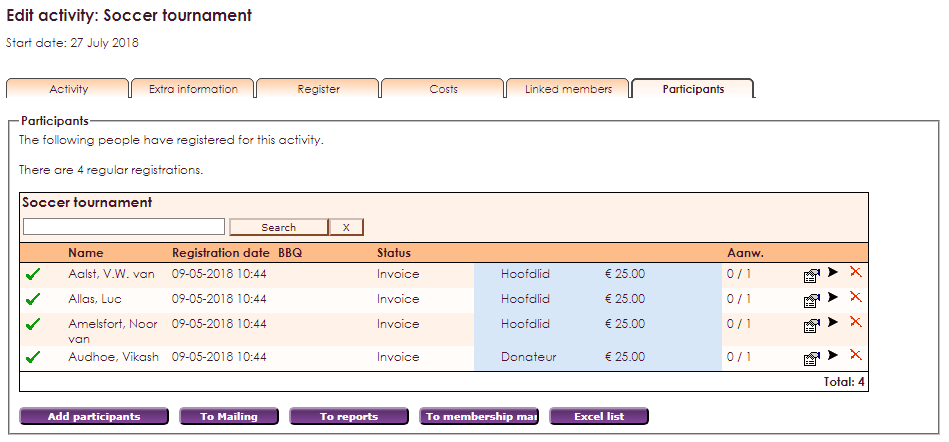
More information about adding and mutating attendees to and activity can be found in the next chapter: Inschrijvingen beheren.
With the option Cancel activity, it's possible to cancel the entire activity. This will remain visible in e-Captain and on the website, but with the notification canceled. When canceling an activity, cost rules of the activity will fall due.
