With the Poll widget you can place a pre-made poll on your website.
To use the Poll widget you must first create the conditions / question of the poll.
• Click on Website Management 2 in the main menu.
• Select Poll from the submenu.

 |
Excel overview of the created poll properties. |
 |
Add a new poll. |
 |
Indication active poll (no end date). |
 |
Inactive poll indicator (end date). |
 |
Overview of statistics selected poll. |
 |
Edit a poll. |
 |
Delete poll. |
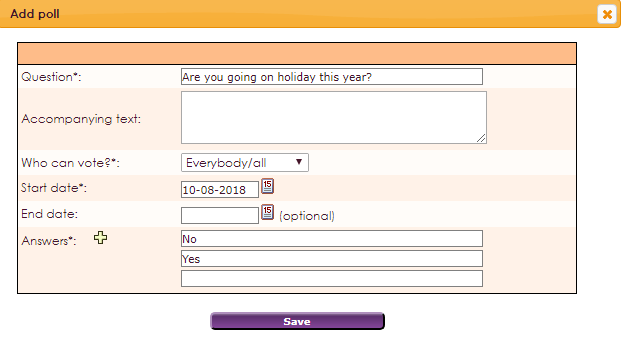
- Click
 icon to create a new poll.
Settings
- Question: Enter the statement here.
- Accompanying text: Additional explanation about the statement if necessary.
- Who can vote?*: Here you can specify who can vote, members or everyone.
- Start date*: Start date to vote on this poll (required field).
- End date: End date to vote on this poll.
- Answers*: Here you can enter the answers for the statement. If you want to add more answers click on the icon plus icon.
After you entered all the fields, click save.
To get a widget visible on the website you must add it to a page or to a layout. On the page about widgets you can read how widgets are placed within the page or layout.
- Drag the new widget to the correct column or row within the page or layout.
- In the overview, select all available widgets for the Poll widget.
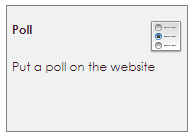
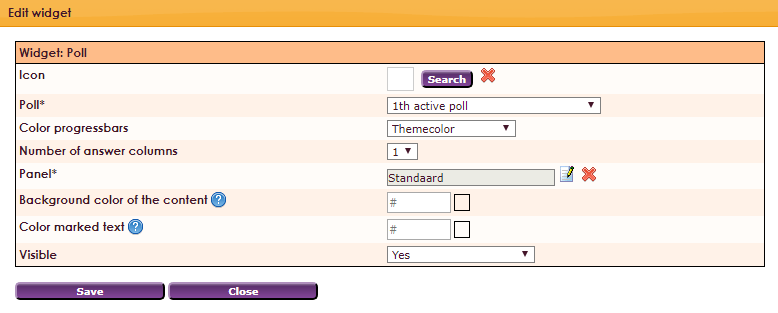
After releasing the Poll widget in the correct location, the settings screen will open.
Settings
- Icon: Use the Search button to select an overview of icons.
- Poll: Here you can choose previously created polls.
- Color progressbars: Color representation of the echelons Theme color / Changing colors.
- Number of answer columns: About how many columns the answers are distributed.
- Panel: select panel
- Background color of the content: select background color
- Color marked text: select color
- Visible: Yes or No
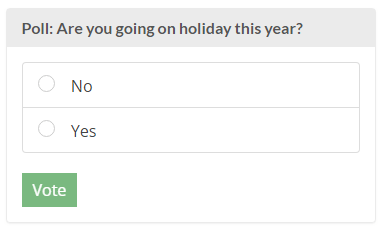
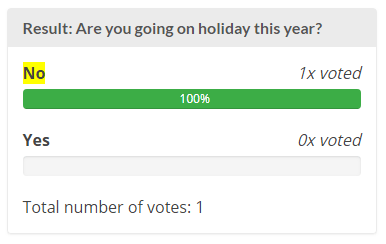
Poll view after voting


 icon to create a new poll.

